What You Need to Know Before Changing a Breaker in a Breaker Box
Changing a breaker in a breaker box is something a lot of Denver homeowners search for when a circuit keeps tripping, won’t reset, or shows signs of wear. Here’s the short version:
How to change a breaker in a breaker box (quick overview):
- Turn off the main breaker to cut power to the panel
- Remove the panel cover using an insulated screwdriver
- Test all wires with a non-contact voltage tester before touching anything
- Disconnect the wire from the old breaker and pivot it out
- Snap the new (matching) breaker onto the bus bar
- Reconnect the wire, replace the cover, and restore power sequentially
Important: Even with the main breaker off, the wires feeding into it from the utility are still live. Never touch anything above the main breaker.
I’m Randy Harmuth, master electrician and owner of Harmony Electric here in Denver. I’ve worked inside hundreds of residential panels across the Front Range, and I’ll be straight with you — this job is doable for a careful, experienced DIYer, but it carries real risk if you’re not sure what you’re looking at.
Circuit breakers are the safety device between your home’s wiring and a potential electrical fire. They trip when a circuit draws more current than it can safely handle, cutting power before wires overheat. Think of them like a fuse that resets itself — except when they fail, they stop protecting you.
Most breakers last 30 to 40 years. But age, frequent tripping, or physical damage can wear one out sooner than that. When that happens, replacing it is the only fix — a faulty breaker can’t be repaired.

Is Changing Breaker in Breaker Box a DIY Job?
One of the most common questions I get from folks in Castle Rock or Centennial is: “Randy, can I really do this myself?”
The honest answer is yes—but with a big asterisk. If you are comfortable around tools, patient, and follow safety protocols to the letter, you can handle changing breaker in breaker box units. However, electricity doesn’t give you second chances. A single mistake inside a live panel can lead to severe electrocution or an arc flash, which is essentially a small explosion.
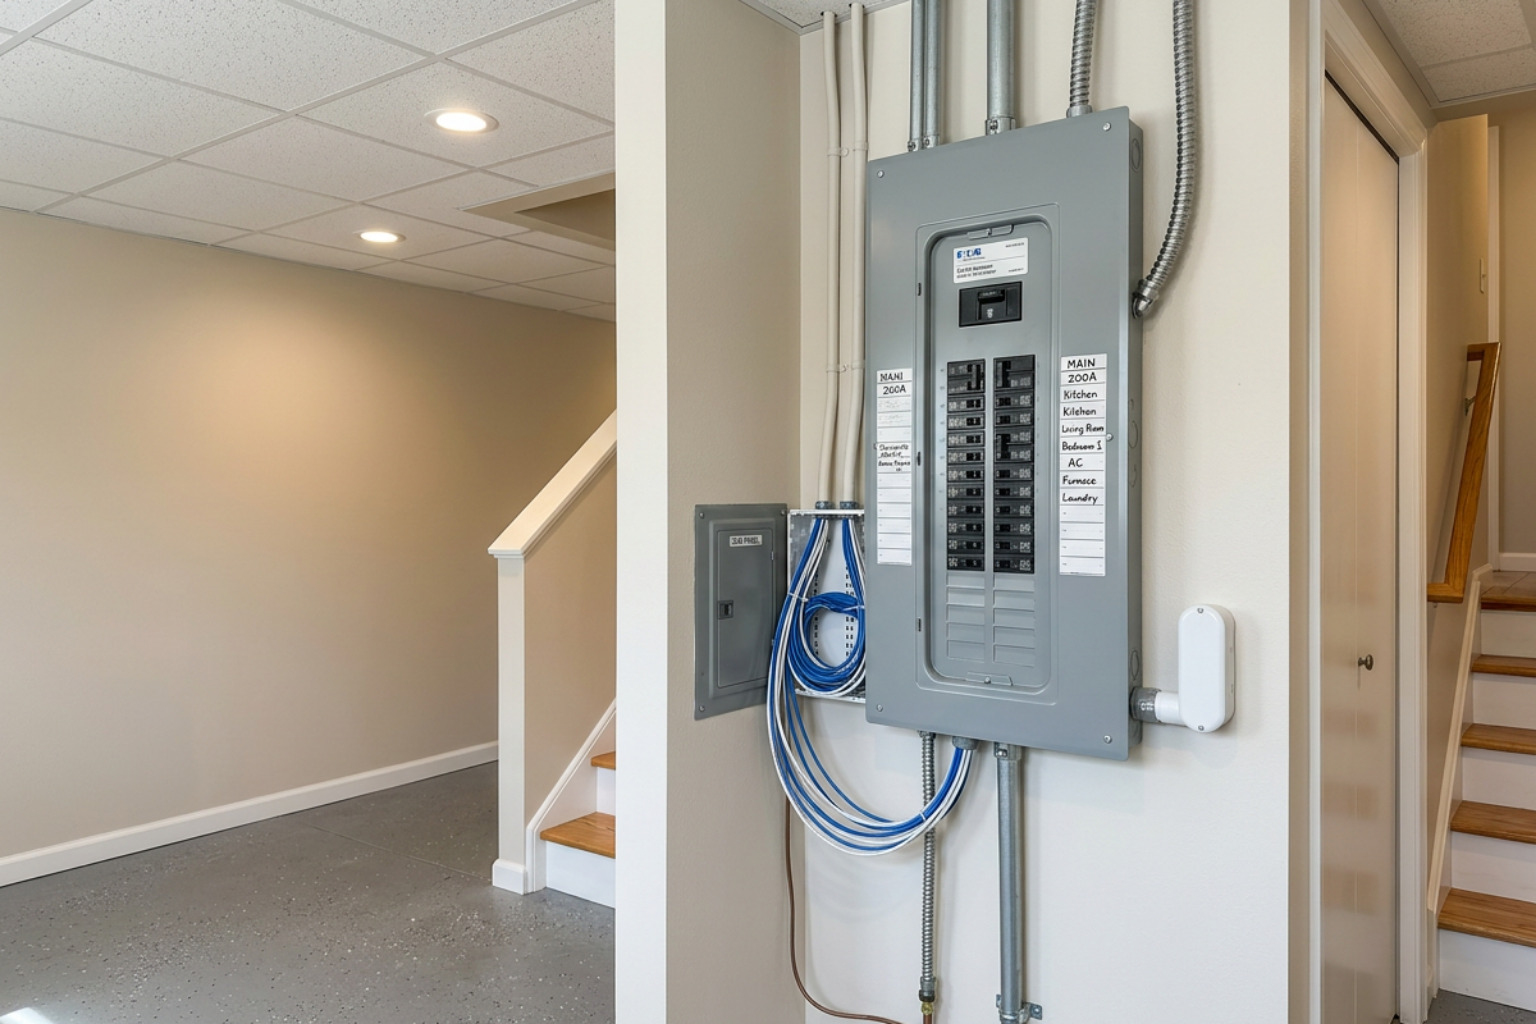
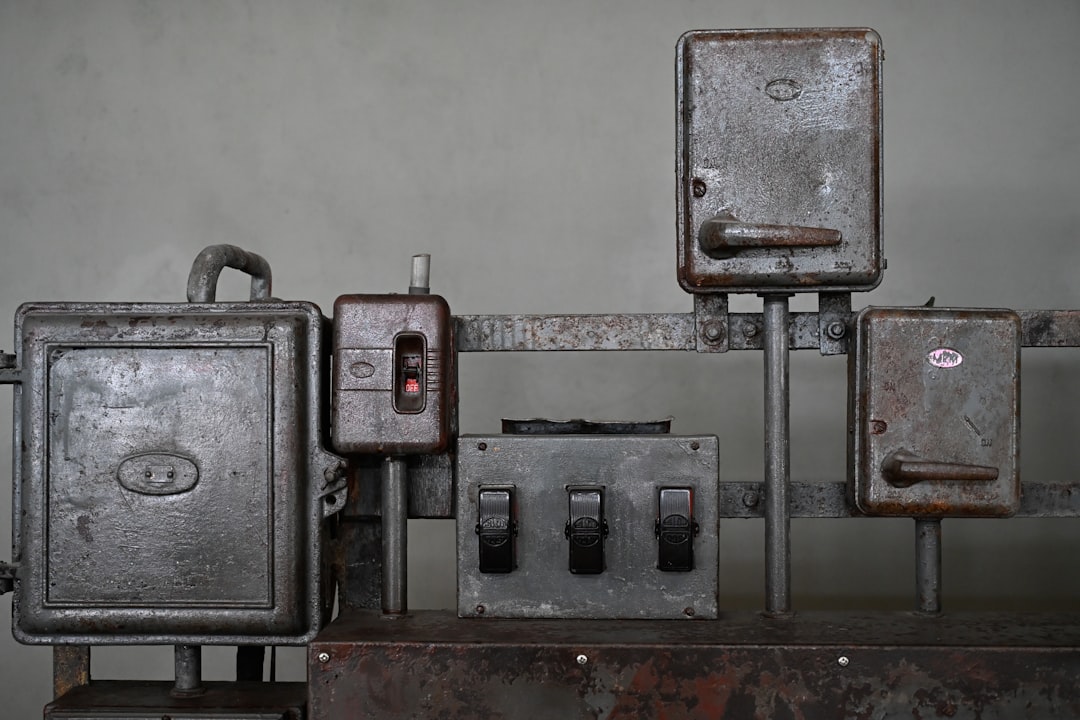
What I usually see in Denver homes is that homeowners feel fine resetting a tripped switch, but once that metal cover comes off, things get intimidating. And they should! Inside that box are “bus bars”—heavy metal strips carrying all the power for your house. Even if you flip the main breaker to “off,” the large lugs at the very top where the utility lines come in are always live.
If you open your panel and see rust, moisture, or charred wires, stop immediately. Those are signs of deeper issues that a simple breaker swap won’t fix. In those cases, you need to look at Electrical Panel Replacement vs Repair options.
For those who decide to move forward, the most important tool you’ll own is a non-contact voltage tester. It’s a little pen-shaped device that beeps when it’s near live electricity. Never touch a wire until that tool tells you it’s cold.

Signs Your Circuit Breaker Has Reached Its Limit
How do you know it’s actually time for a replacement? Breakers are mechanical devices with springs and levers inside. Over time, those parts wear out. Here is what we look for when troubleshooting homes in Highlands Ranch or Parker:
- The Burning Smell: This is the biggest red flag. If you smell ozone or “hot plastic” near your panel, a wire or the breaker itself is likely melting.
- Hot to the Touch: It’s normal for a breaker to feel slightly warm if it’s under a heavy load (like a running AC), but it should never be hot. If it’s painful to touch, it’s failing.
- Buzzing or Humming: A healthy breaker is silent. If you hear a sizzle or a hum, there is likely a loose connection or a mechanical failure inside the unit.
- Visible Damage: Look for black char marks, melted insulation on the wires, or rust on the metal components.
- Frequent Tripping: If a breaker trips every time you turn on a vacuum, it might just be overloaded. But if it trips with nothing plugged in, or won’t stay in the “on” position (it feels “springy”), the internal mechanism is shot.
It’s also worth checking if your home has an outdated or recalled panel. Brands like Federal Pacific Electric (FPE) and Zinsco are famous for breakers that refuse to trip, even during a short circuit. If you see those names on your box, check out our guide on Signs Outdated Electrical Panel and the specific Electrical Panel Recall FPE Zinsco Aluminum information. These panels are fire hazards and should be replaced by a professional immediately.
Tools and Preparation for the Job
Before you even touch the panel, you need to gather the right gear. Don’t try to “make do” with a standard screwdriver from the kitchen drawer.
Required Tools:
- Non-contact voltage tester: To verify the power is truly off.
- Insulated screwdrivers: These have a rubber coating on the shaft to prevent accidental contact with live parts.
- Flashlight or Headlamp: Since you’ll be turning off the main power, you’re going to be working in the dark.
- Safety glasses and rubber-soled shoes: Extra layers of protection against sparks and grounding.
Most importantly, you need the exact replacement breaker. You can’t just put a GE breaker in a Square D panel because “it looks like it fits.” Breakers must match the brand and the specific series of your panel to ensure they sit tightly on the bus bar. If they are loose, they will arcing and eventually start a fire.
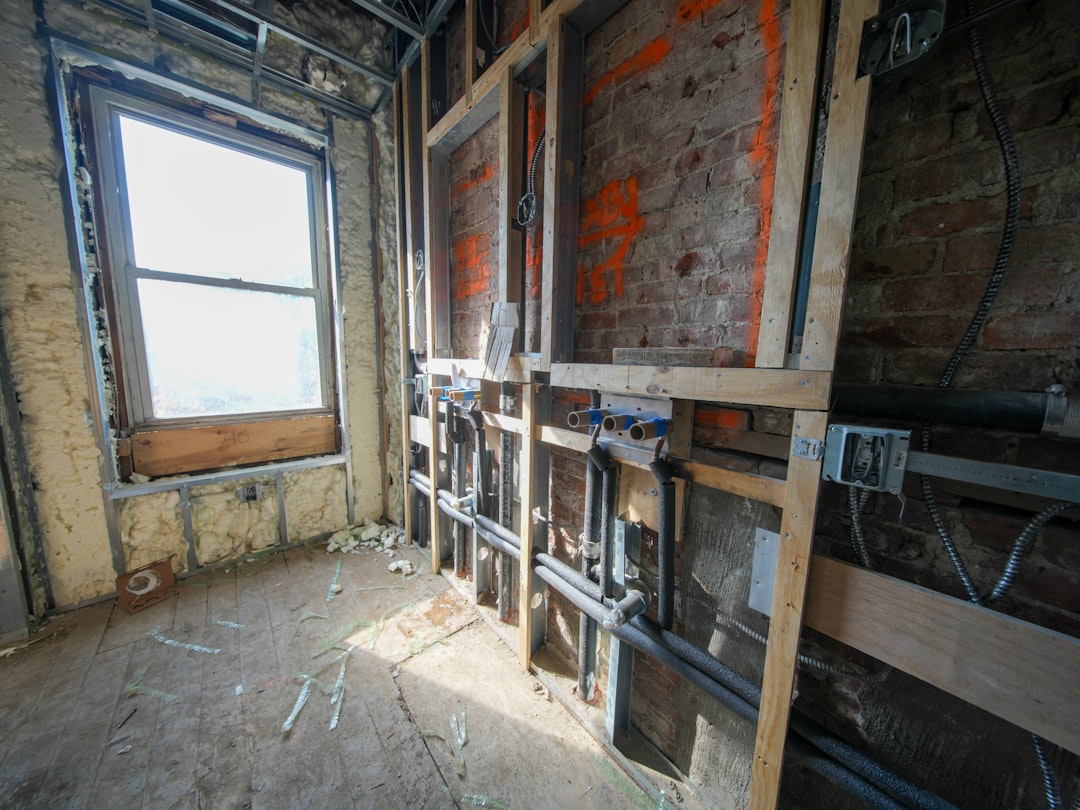
Take a photo of the old breaker’s label before heading to the hardware store. You need to match the brand, the voltage, and the amperage (usually 15 or 20 amps for standard household circuits). If you want to understand what all those wires do before you start, our Inside Electric Panel Complete Guide is a great resource.
Understanding Breaker Types
| Breaker Type | Best For | Protection Provided |
|---|---|---|
| Standard | Lights, outlets in dry areas | Overloads & Short Circuits |
| GFCI | Bathrooms, kitchens, outdoor | Electrical Shock protection |
| AFCI | Bedrooms, living rooms | Arc-fault (fire) protection |
Step-by-Step Guide to Changing Breaker in Breaker Box Safely
Alright, let’s get to the work. First rule: Never work alone. Have someone nearby who can call for help if something goes wrong.
1. Shut Down the Power
Start by turning off the individual breakers one by one. This prevents a massive power surge when you turn the panel back on later. Once the small breakers are off, flip the large Main Breaker (usually at the very top or bottom) to the “OFF” position.
2. Remove the Panel Cover
Carefully unscrew the cover. I usually leave the two middle screws for last so the heavy metal plate doesn’t fall forward while I’m working. Hold the cover steady as you remove the final screws.
3. The “Randy Rule” – Test, Then Test Again
Use your voltage tester on the wires connected to the breaker you’re replacing. Then test the wires on the breakers next to it. You must confirm that no electricity is flowing through those branch circuits.
Warning: The lugs (the big screw terminals) where the main utility lines enter the box are STILL LIVE. Do not touch them or let your tools get near them. For a deeper dive into panel safety, check out Shockingly Simple: Your DIY Guide to Electrical Panel Installation.
Removing the old unit and changing breaker in breaker box
Once you’ve confirmed the power is dead, use your insulated screwdriver to loosen the terminal screw on the faulty breaker. This is the screw holding the black (hot) wire in place.
- Pull the wire out: Gently pull the black wire away and tuck it to the side so it doesn’t touch anything.
- The Pivot Motion: Most residential breakers are “friction-fit.” They aren’t held in by screws to the panel; they snap onto the bus bar. To remove it, grasp the side of the breaker near the center of the panel and pivot it outward toward the side of the box. It should “pop” off the rail.
- Inspect: Look at the bus bar (the metal tab the breaker was clipped to). If it’s pitted, blackened, or melted, a new breaker won’t fix the problem—the panel itself is damaged.
Installing the new breaker and restoring power
Now, we reverse the process for changing breaker in breaker box units.
- Align the new breaker: Look at the “hook” on the outer edge of the breaker. Catch that hook on the plastic rail of the panel first.
- Snap it in: Once the hook is seated, press the breaker firmly toward the center bus bar until you hear and feel a solid “click.” It should line up perfectly with the other breakers.
- Connect the wire: Slide the bare end of the black wire into the terminal. Tighten the screw firmly, but don’t go crazy—you don’t want to crush the wire, just secure it. Give the wire a little “tug test” to make sure it’s not going anywhere.
- Cover and Power Up: Put the panel cover back on. Flip the Main Breaker to “ON” first. Then, flip each individual circuit breaker back on one at a time. This helps the electrical system stabilize without a sudden “slam” of power.
If you want more tips on the final steps, see our post on Changing Breaker in Panel.
Frequently Asked Questions about Breaker Replacement
What if the new breaker trips immediately?
If you’ve just finished changing breaker in breaker box and the new unit trips the second you flip it on, stop. You likely have a “short circuit” or a “ground fault” somewhere in the house wiring, not a bad breaker. This means a hot wire is touching a neutral or ground wire. This is a fire hazard and requires professional troubleshooting to find the break in the line.
Can I swap a 15-amp breaker for a 20-amp one?
No. Absolutely not. This is a dangerous mistake I see too often in older Denver homes. The breaker is sized to protect the wire in your walls. 15-amp breakers usually protect 14-gauge wire. If you put a 20-amp breaker on that thin wire, the wire will melt and catch fire before the breaker ever trips. Never increase amperage unless you are certain the wiring is rated for it (usually 12-gauge for 20 amps).
Do I need a permit for changing breaker in breaker box?
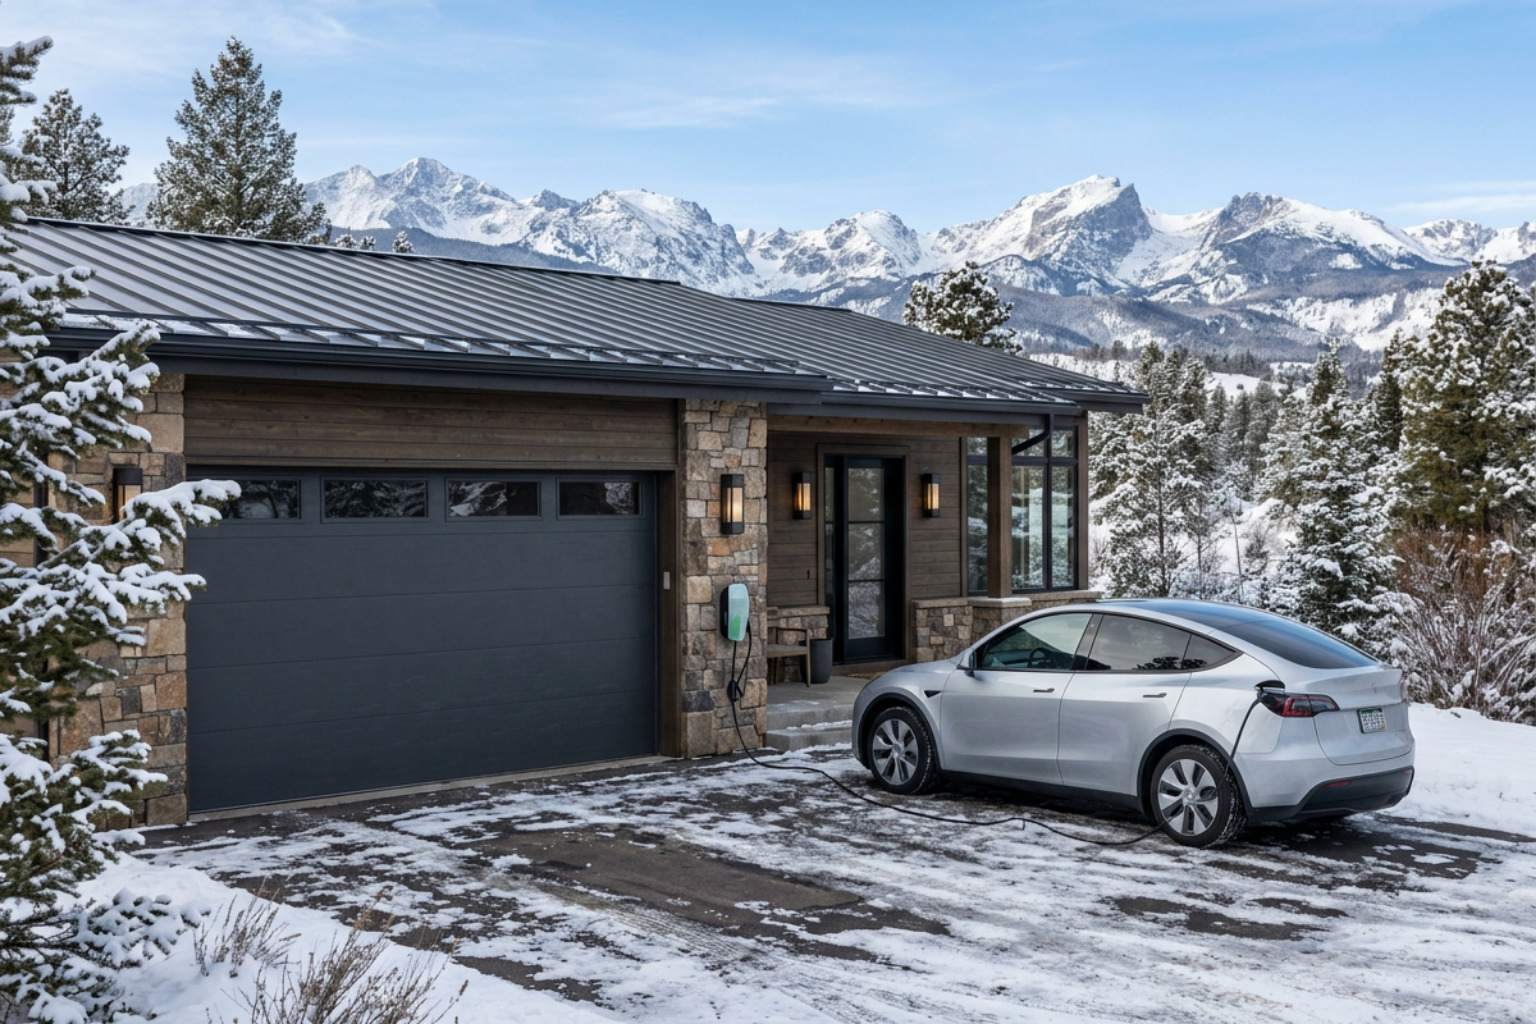
In most of the Denver Metro area, including Castle Rock and Centennial, a simple one-for-one breaker replacement usually doesn’t require a permit. However, if you are adding a new circuit (like for a hot tub or an EV charger) or upgrading the whole panel, a permit and city inspection are mandatory.
Conclusion
Changing breaker in breaker box is a common maintenance task that keeps your home safe and your power reliable. While it’s a project some DIYers can handle, there is no shame in calling for backup when you’re dealing with the “heart” of your home’s electrical system.
At Harmony Electric, we believe in doing the job right the first time. Whether you’re in Parker, Highlands Ranch, or right here in Denver, our team—led by myself, Randy Harmuth—is here to help. We provide honest recommendations and clean, high-quality work without any unnecessary upselling.
If your panel is acting up, or if you’ve opened that box and decided it’s just not for you, give us a call. We back our select installations with a lifetime workmanship guarantee because we stand behind every wire we touch. Visit our Residential Services page to learn more about how we can keep your home’s power humming safely.