Why Changing a Circuit Breaker Matters More Than You Think
Changing breaker in panel is one of those home repairs that sounds simple but requires real care and attention. I’ve seen plenty of situations where a homeowner calls me after a breaker keeps tripping, or worse, after they’ve already opened up their panel and realized they’re in over their head.
Here’s what you need to know right away:
Quick Answer: Can I Change a Breaker Myself?
- Yes, if you’re comfortable working with electricity, have the right tools, understand your panel, and follow strict safety procedures
- No, if you’re unsure about any step, your panel is old or corroded, or you need to upgrade amperage
- Always remember: The main service lugs stay live even when the main breaker is off—this is the most dangerous part
- Essential steps: Turn off main breaker → Test for voltage → Remove old breaker → Install exact replacement → Test your work
The truth is, a faulty breaker isn’t just an inconvenience. It’s a safety device that’s no longer protecting your home’s wiring from overheating and potentially causing a fire. When a breaker fails to trip when it should, or trips constantly when nothing’s wrong, it needs to be replaced.
I’m Randy Harmuth, and I’ve been working on electrical panels in Denver homes for years. Most breaker replacements are straightforward if you know what you’re doing and respect the risks involved. But there’s a big difference between resetting a tripped breaker and actually replacing one—and an even bigger difference between a standard breaker swap and a situation that needs a licensed electrician.
In this guide, I’ll walk you through exactly when and how you can safely replace a circuit breaker yourself, and more importantly, when you should step back and call a professional. Because in electrical work, knowing your limits isn’t just smart—it’s what keeps you and your family safe.
Your Guide to Safely Replacing a Circuit Breaker
At its core, a circuit breaker is a safety device. It is designed to automatically cut off the electrical current to a circuit if it detects a problem, like an overload or a short circuit. This prevents the wiring in your walls from overheating, which could lead to an electrical fire. I like to think of it as a guard standing between your wiring and serious trouble.
When a breaker consistently trips, or fails to trip when it should, that guard is not doing its job anymore. That is when a replacement becomes necessary. While we will cover the steps for changing breaker in panel here, my biggest advice is always: safety first. Electrical work carries real risks, including serious injury or death, if it is not handled with extreme care and a solid understanding of what you are doing.
This guide is here to give you clear information so you can decide what you are comfortable handling. There are plenty of situations where a DIY approach is simply too risky, and that is perfectly okay. My priority is that your home’s electrical system is safe and reliable, whether you tackle a simple task yourself or call in a licensed electrician.

First, Let’s Make Sure the Breaker is Actually the Problem
Before you even think about changing breaker in panel, we need to be sure the breaker itself is the culprit. Sometimes, a breaker trips because it’s doing its job and protecting your home from an overload or a short. Repeatedly resetting a breaker without addressing the underlying issue can be dangerous.
Here are the signs that tell us a circuit breaker likely needs to be replaced:
- Frequent Tripping: If a breaker trips often, even when you’re not overloading the circuit, it might be getting weak. This is especially true if it trips immediately after being reset, or if it trips overnight while nothing is running.
- Failure to Reset: A healthy breaker should flip firmly to the “OFF” position and then to the “ON” position. If it feels loose, won’t stay in the “ON” position, or constantly rests somewhere in between, it’s faulty.
- Hot to the Touch: If you feel heat coming directly from the breaker itself (not just the panel as a whole during heavy use), it’s a sign of internal resistance and failure.
- Burning Smell: Any burning odor coming from your electrical panel is a serious warning sign. It indicates overheating, possibly within the breaker or the wiring connected to it.
- Visible Damage: Look for scorching, discoloration, melted plastic, or any other physical signs of damage on the breaker. If you see this, do not attempt to reset or replace it yourself.
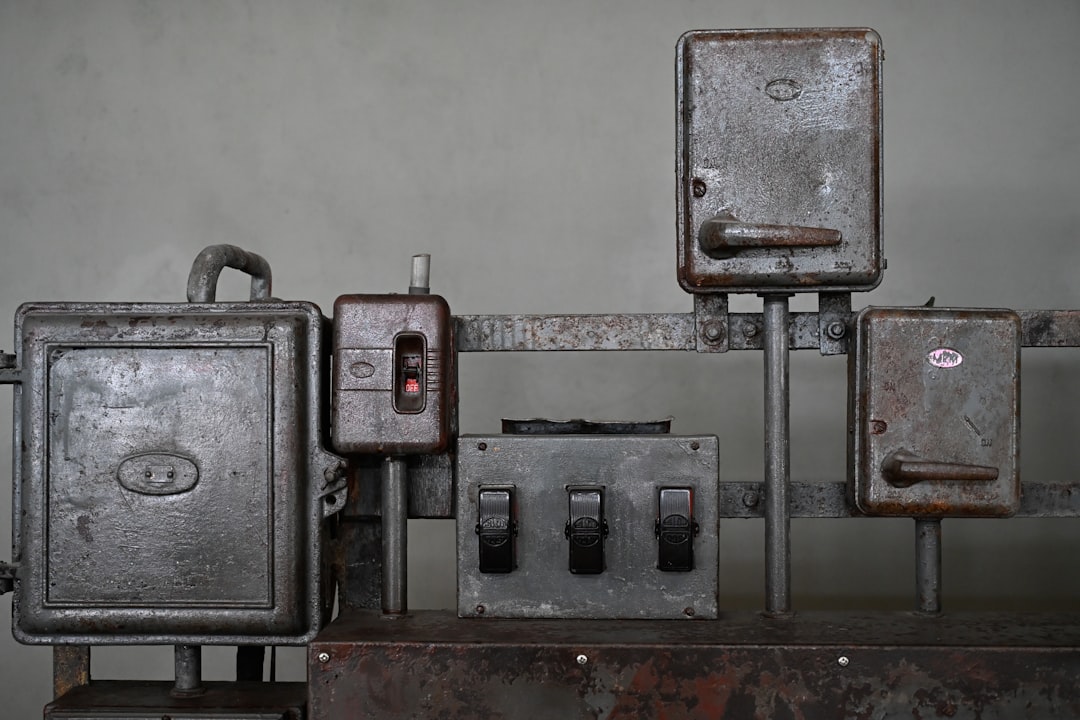
- Breaker Age: Circuit breakers aren’t designed to last forever. If your home’s panel is more than 25 years old, especially if it’s an older brand that was common in Denver like FPE or Zinsco, the breakers might be at the end of their lifespan. We often see these older panels in homes across Castle Rock and Highlands Ranch.
- Flickering Lights: While this can be caused by many things, consistently flickering or dimming lights on a specific circuit can sometimes point to a failing breaker struggling to maintain a steady current.
- Buzzing Sounds: A steady, distinct buzzing from a particular breaker is a sign of internal arcing or a loose connection, indicating a problem.
Circuit breakers cannot be repaired. Unlike a fuse that you swap out when it blows, a breaker is a sealed unit. Once it malfunctions, it must be replaced. Trying to fix it isn’t an option.
Sometimes, these signs can also indicate that your entire electrical panel is outdated or struggling to keep up with your home’s demands. If you’re seeing several of these symptoms, it might be time to consider whether your panel is outdated in Denver. We’ve got more information on that topic if you’re curious.
Getting Ready: The Right Tools and the Right Breaker
Alright, if you’ve determined that a breaker swap is necessary and you’re confident in tackling this task, preparation is key. Having the right tools and, most importantly, the correct replacement breaker will make all the difference.

Here’s what we recommend having on hand:
- Insulated Screwdriver Set: Essential for terminal screws. Make sure they are truly insulated to protect against accidental contact with live parts.
- Voltage Tester: This is non-negotiable. We prefer both a non-contact voltage tester (to quickly check for live circuits) and a multimeter (for precise voltage readings and confirming zero voltage).
- Safety Glasses/Goggles: Always protect your eyes. Sparks and electrical arcs can occur.
- Headlamp or Bright Freestanding Light: Good illumination is crucial. You’ll need both hands free.
- Rubber Mat: Standing on a dry, insulating surface adds an extra layer of protection.
- Wire Strippers: You might need to re-strip the end of the circuit wire if it’s damaged.
- New Circuit Breaker: This is where precision matters most.
Understanding Breaker Types
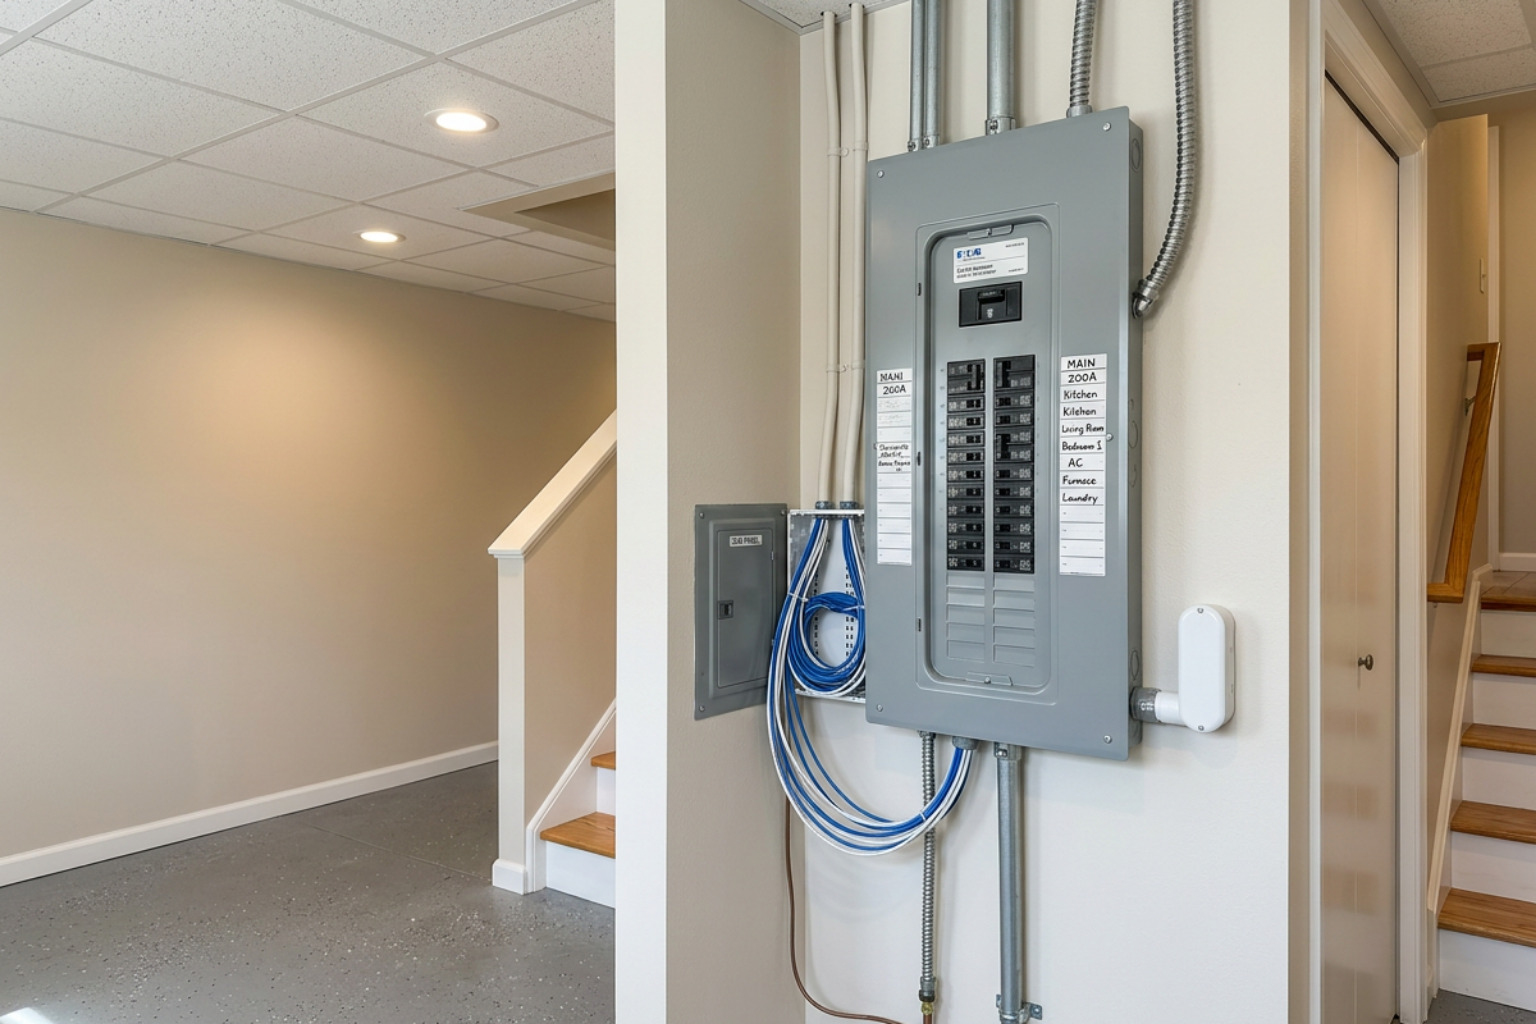
Identifying the correct replacement breaker is critical. You can’t just grab any breaker off the shelf. Breakers are not universally interchangeable; they are designed specifically for certain panel brands and types. Look closely at the faulty breaker. You’ll typically find a small label on the side or front with its brand, type, and amperage rating.
- Match the Brand: Your panel is likely made by a specific manufacturer (e.g., Square D, Siemens, Eaton/Cutler-Hammer). The new breaker must be compatible with that brand’s panel. Mixing breaker brands can lead to improper fit, poor connections, and safety hazards, even if it seems to “fit.”
- Match the Type: Breakers come in various physical forms. Some snap in, others have retaining clips or screws. Ensure the new one matches the old one’s design.
- Match the Amperage: This is crucial. If the old breaker is 15 amps, the new one must be 15 amps. We’ll discuss the dangers of changing amperage in the FAQ section, but generally, the breaker’s amperage is tied directly to the gauge of the wire it protects.
- Single-Pole Breakers: These are the most common, protecting a single 120-volt circuit. They’re typically 15 or 20 amps and occupy one slot in your panel. They have one terminal for a “hot” wire (usually black or red).
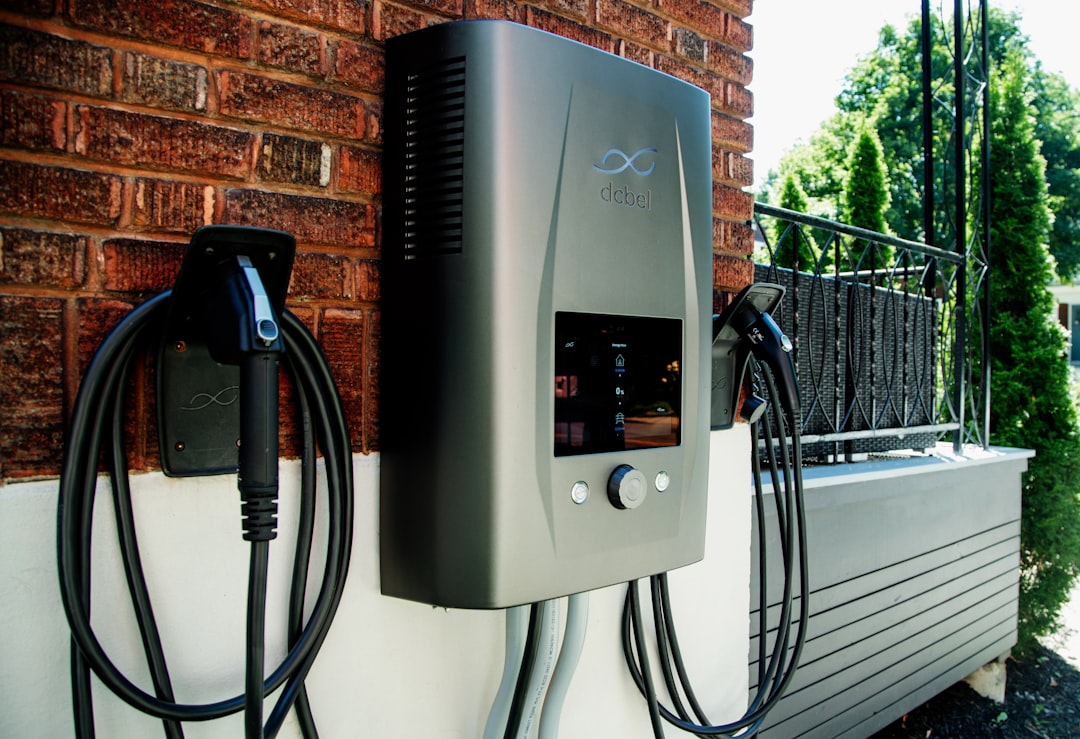
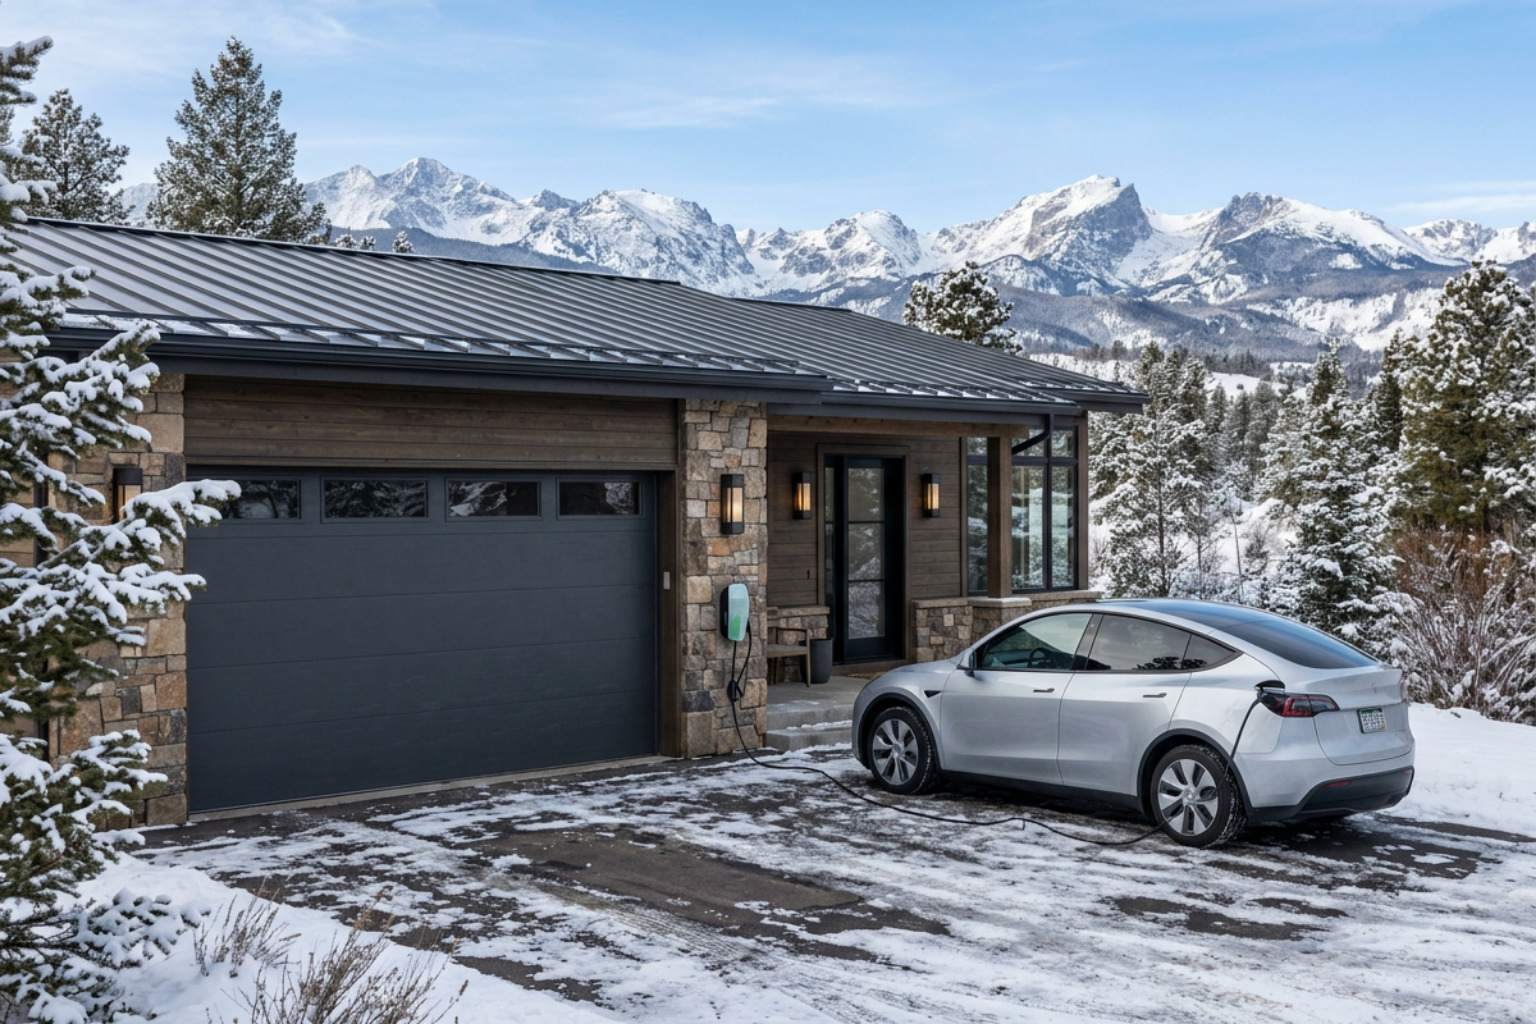
- Double-Pole Breakers: These protect 240-volt circuits, commonly used for large appliances like electric ranges, clothes dryers, water heaters, or EV chargers. They are typically 30-50 amps or more, occupy two adjacent slots, and have two terminals for two “hot” wires.
- GFCI and AFCI Breakers:
- GFCI (Ground Fault Circuit Interrupter) breakers protect against severe electrical shocks, especially in areas near water like kitchens, bathrooms, or outdoors. They detect imbalances in current flow, indicating a ground fault.
- AFCI (Arc Fault Circuit Interrupter) breakers protect against electrical fires by detecting dangerous electrical arcs in wiring. These are often required in bedrooms and other living areas by modern electrical codes to improve safety.
Both GFCI and AFCI breakers have special wiring requirements, often including a “pigtail” neutral wire that connects to your panel’s neutral bar. If you’re replacing one of these, ensure the new one has the same features and understand its specific wiring. You can find more about breaker types from a trusted source like Angi.
The dangers of using the wrong type or amperage of circuit breaker are significant. An incorrect breaker can lead to a fire hazard, code violations, and damage to your home’s electrical system or appliances. It’s a situation where “close enough” is never good enough.
The Step-by-Step Guide to Changing Breaker in Panel
Okay, let’s get into the actual process of changing breaker in panel. Please read through all these steps before you begin, and if at any point you feel unsure, stop and call a professional. Your safety is paramount.

A critical DIY safety warning: Even when the main breaker is off, the large main service lugs at the top of your panel where the utility power comes in are always live. They carry extremely high voltage and current and can cause fatal electrocution. Never, ever touch them or allow your tools to contact them. Keep your hands and tools well clear of this area.
Step 1: Shut Down All Power (The Right Way)
This is the most important step. Do not skip or rush it.
- Turn Off All Branch Circuits: Go to your electrical panel and flip every individual circuit breaker to the “OFF” position. This prevents a sudden rush of power when you restore the main breaker later.
- Turn Off the Main Breaker: Locate the large main breaker, usually at the top or bottom of your panel. Flip it firmly to the “OFF” position. This should cut power to all the branch circuits.
- Remove the Panel Cover: Carefully loosen the screws holding the metal cover plate in place. We usually recommend leaving the middle two screws for last and supporting the cover as you remove it to prevent it from falling.
- Use a Voltage Tester: This is your life insurance. With the cover off, use your non-contact voltage tester to check each individual bus bar connection where the breakers attach. You should hear no beeping or see no lights indicating voltage. Then, use your multimeter to confirm zero voltage between the bus bar and the neutral/ground bar. Test adjacent breakers, too, just to be sure. Only proceed if you are absolutely certain the panel is dead.
Step 2: Safely Removing the Old Breaker for changing breaker in panel
Once you’ve confirmed there’s no power, we can move on to the old breaker.
- Disconnect the Circuit Wire: Locate the wire(s) connected to the faulty breaker. Using your insulated screwdriver, loosen the terminal screw(s) and carefully pull the wire(s) free. For double-pole breakers, you’ll have two hot wires. For GFCI/AFCI breakers, you’ll also have a white “pigtail” wire connected to the neutral bar and possibly a load neutral wire. Note how they were connected.
- Remove the Breaker: Most breakers snap onto a metal rail or bus bar. Gently rock or pivot the breaker away from the bus bar connection point. It should detach with moderate pressure. Don’t force it. If it resists, look for a retaining clip or screw that might need to be released. Some older panels or specific brands might have a slightly different mechanism.
Step 3: Installing the New Breaker
Now it’s time to put the new one in.
- Connect the Circuit Wire(s): Take the circuit wire(s) you just removed and connect them to the corresponding terminal(s) on your new breaker. Ensure the wire insulation is fully removed (but not too much) and the bare wire is inserted completely into the terminal.
- Tighten the Terminal Screw(s): Using your insulated screwdriver, tighten the terminal screw(s) firmly. Give the wire a gentle tug to ensure it’s securely fastened and won’t pull out. A loose connection can cause arcing and overheating.
- Connect Neutral Wires (if applicable): If you’re installing a GFCI or AFCI breaker, connect its white “pigtail” wire to the neutral bar in your panel. If your circuit also has a load neutral, connect that to the designated neutral terminal on the breaker.
- Seat the Breaker Firmly: Align the new breaker with the bus bar connection point in the panel. Apply firm, even pressure until it snaps securely into place. You should hear a distinct click, and the breaker should feel stable and not wiggle.
Step 4: Restoring Power and Testing Your Work
You’re almost done! The final steps involve carefully restoring power.
- Replace the Panel Cover: Carefully re-attach the metal cover plate, ensuring all wires are tucked neatly inside and no bare conductors are pinched. Replace all screws.
- Ensure All Branch Circuits Are OFF: Double-check that all individual breakers are still in the “OFF” position.
- Turn the Main Breaker ON: Step to the side of the panel, look away, and firmly flip the main breaker to the “ON” position. This minimizes your exposure in the unlikely event of an arc flash.
- Turn on Branch Circuits One by One: Now, one by one, flip each individual circuit breaker back to the “ON” position.
- Test Outlets and Lights: Go to the area of your home served by the newly replaced breaker. Test outlets, lights, and appliances to ensure everything is working correctly.
Know When to Put Down the Tools and Call an Electrician
While changing breaker in panel can be a DIY task for some, there are many situations where it’s best to call a professional electrician. We see a lot of electrical panels in Castle Pines and Parker, and sometimes, a tripping breaker isn’t just a faulty part; it’s a symptom of a larger issue.
Your safety, and the safety of your home, is paramount. Here’s when we strongly recommend you put down the tools and call us:
- You Feel Uncomfortable or Unsure: If you have any hesitation at any point, that’s your instinct telling you to call an expert. There’s no shame in it—electrical work is serious business.
- Persistent Tripping: If the new breaker trips immediately, or continues to trip frequently after replacement, the problem isn’t the breaker. It’s an issue with the circuit itself—an overload, a short, or faulty wiring—that requires professional diagnosis.
- Buzzing or Humming Panel: A general buzzing or humming from your entire panel can indicate loose connections, overloaded circuits, or issues with the main service.
- Signs of Corrosion or Arcing on the Bus Bar: We mentioned the bus bar earlier, that metal strip where breakers connect. If you see discoloration, pitting, or burn marks on the bus bar itself, it means there’s been arcing (electrical discharge) and the panel itself is compromised. A new breaker won’t fix this, and it’s a significant fire risk.
- Old or Recalled Panels: If your home has an older electrical panel, especially brands like Federal Pacific Electric (FPE) or Zinsco, these are known fire hazards and should be replaced by a qualified electrician. We’ve replaced many of these in older Denver and Centennial homes. You can find more information on hazardous electrical panels and why they need to be addressed immediately.
- Upgrading Amperage or Adding New Circuits: If you’re looking to put in a new EV charger, add a hot tub, or need more power for a home addition, you’ll likely need to upgrade your panel’s amperage or add new circuits. This is complex work that requires a professional.
- Damage to Wires: If you notice any frayed, scorched, or damaged wires within the panel, do not proceed. This is a job for an electrician.
- Working on the Main Breaker Compartment: As we stressed, the main service lugs are always live. If you need to access this area for any reason, a certified electrician is required.
In many cases, what seems like a simple breaker issue might point to the need for a full panel upgrade or significant repairs. We often discuss electrical panel replacement vs. repair with homeowners in Lone Tree and the surrounding areas to ensure they make the best, safest decision for their property.
Frequently Asked Questions About Changing a Breaker in a Panel
We hear a lot of questions about breakers and electrical panels. Here are some of the most common ones that come up when people are thinking about changing breaker in panel:
Can I replace a 15-amp breaker with a 20-amp one?
Generally, no, not without also upgrading the wiring on that circuit. The breaker’s job is to protect the wire. A 15-amp circuit is typically wired with 14-gauge wire, which can safely handle up to 15 amps. A 20-amp breaker requires 12-gauge wire. If you put a 20-amp breaker on a 14-gauge wire, that wire could overheat and cause a fire before the breaker ever trips. It’s a serious fire hazard and a code violation. The breaker protects the wire, not the appliance.
Why are the big lugs at the top of my panel still live after I turn off the main breaker?
This is a critical safety point we can’t stress enough! The main service lugs are the connection points where the heavy gauge wires from your utility company enter your home’s electrical panel. Your main breaker is downstream from these lugs. This means that even when your main breaker is in the “OFF” position, those lugs and the wires connected to them are still directly connected to the power grid and are always energized. They carry lethal voltage. Never, ever touch them or allow any tools to come into contact with them. For detailed information on electrical safety, we recommend reviewing resources like the Electrical Safety information from the US Dept. of Interior.
What’s the difference when changing a breaker in a panel for a large appliance?
When you’re dealing with a large appliance like an electric oven, central air conditioner, or an EV charger, you’re usually looking at a 240-volt circuit, which uses a double-pole breaker. The principles for changing breaker in panel remain the same, but there are a few key differences:
- Two Hot Wires: A double-pole breaker connects to two “hot” wires (typically black and red) from your appliance circuit, supplying 240 volts. A single-pole breaker only connects to one hot wire.
- Two Connected Slots: Double-pole breakers occupy two adjacent slots in your electrical panel and are mechanically linked to trip together.
- Higher Amperage: These breakers typically have higher amperage ratings (e.g., 30A, 40A, 50A) to handle the greater power demands of larger appliances.
The replacement process involves disconnecting and reconnecting two hot wires, but the safety precautions and the method of seating the breaker into the panel are essentially the same as for a single-pole breaker. Always ensure you match the original breaker’s specifications exactly.
Your Home’s Safety is the Top Priority
When it comes to your home’s electrical system, safety is non-negotiable. We’ve covered a lot about changing breaker in panel, from identifying a faulty breaker to the step-by-step process and, most importantly, when to call in a professional.
Remember these key takeaways:
- Always assume electricity is dangerous.
- Verify power is off before touching anything inside the panel.
- Never touch the main service lugs.
- Use the exact replacement breaker.
- If in doubt, don’t risk it.
Here at Harmony Electric, we believe in doing the job right the first time. We’re a full-service electrical company, and our master electricians are experienced with every type of electrical panel and circuit issue common in Denver, Castle Rock, Highlands Ranch, and all the surrounding communities. Whether it’s a simple breaker replacement or a complete electrical panel upgrade, we’re committed to providing professional, clean, and high-quality electrical work without any unnecessary upsells.
If you’re in the Denver area and need a professional for your electrical panel upgrades, we’re here to help. You can trust us to keep your home’s electrical system safe and functioning flawlessly.