What You Need to Know Before Installing Commercial Electric LED Lights
Commercial electric LED light installation is one of the most common upgrades I help Denver homeowners and small business owners tackle — and for good reason.
Here’s the quick version for anyone who just wants the essentials:
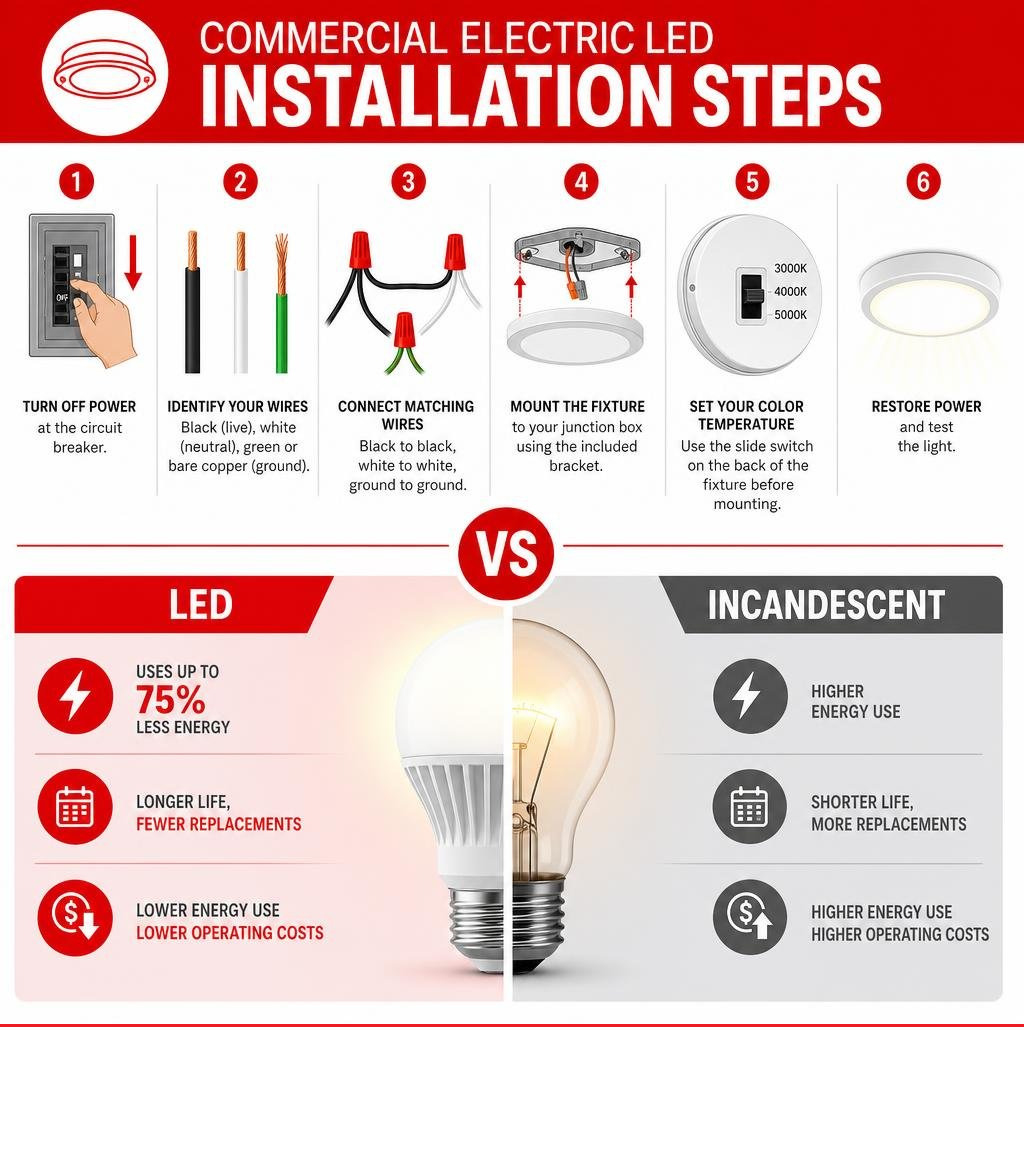
- Turn off power at the circuit breaker before touching any wiring.
- Identify your wires — black (live), white (neutral), green or bare copper (ground).
- Connect matching wires using wire nuts — black to black, white to white, ground to ground.
- Mount the fixture to your junction box using the included bracket.
- Set your color temperature using the slide switch on the back of the fixture before mounting.
- Restore power and test the light.
That’s the core of it. But there’s more to getting it right — especially if you’re dealing with retrofit cans, motion sensors, or a commercial space that needs to meet electrical code.
LED lighting can cut energy use by up to 75% compared to traditional incandescent bulbs. That’s not a small number. For a business running lights 10+ hours a day, the savings add up fast.
Commercial Electric fixtures — sold exclusively at The Home Depot — are popular because they’re affordable, widely available, and come in a range of styles from simple flush mounts to recessed retrofit kits. They’re also backed by a 5-year warranty, which gives most buyers confidence in the purchase.
Most homeowners are surprised to learn just how many options are packed into these fixtures: selectable color temperatures, optional motion sensing, and dimmable output — all in one unit.
This guide walks you through everything, step by step.
Understanding Your Commercial Electric LED Lighting Options
When you walk down the electrical aisle in Home Depot, the sheer volume of choices can be overwhelming. There are over 10,000 results for commercial electric LED lights on the market today, ranging from simple residential utility lights to heavy-duty warehouse high bays.
For most homes and businesses in the Denver Metro Area, we focus on three main styles: flush mounts, recessed retrofits, and flat panels.

- Flush Mount Ceiling Lights: These round or square fixtures sit flat against the ceiling. They are perfect for closets, hallways, kitchens, and utility rooms. They offer a clean, low-profile look and are incredibly easy to install over a standard junction box.
- Recessed Retrofit Kits: If you already have older, power-hungry incandescent recessed “can” lights in your ceiling, you do not need to tear out the whole housing. Retrofit kits are designed to slide right into your existing cans. They use a simple Edison-based pigtail adapter that screws into your old light bulb socket, instantly transforming your lighting.
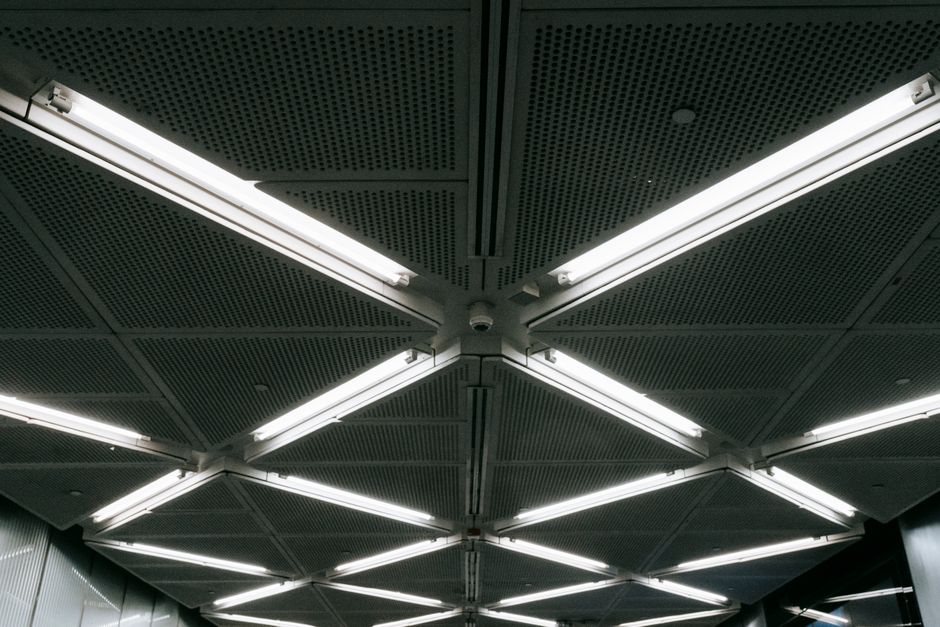
- Flat Panel and Troffer Lights: These are the large, rectangular fixtures (typically 2×2 or 2×4 feet) commonly found in commercial offices, retail spaces, and classrooms. They provide wide, even light distribution without the harsh glare of old fluorescent tubes.
Choosing the right style depends entirely on your existing ceiling structure and the type of tasks you perform in that space.
Selecting the Right Fixture for Your Space
Selecting the right fixture goes beyond just picking a style. You also need to look at the environment where the light will live.
If you are upgrading a commercial office grid, flat panels or troffers are your best bet. Modern LED troffers offer selectable wattages and color temperatures, allowing you to customize the brightness of each room.
If you are installing lights in a bathroom, commercial kitchen, or an outdoor covered patio in Highlands Ranch, make sure your fixture is rated for damp locations. Commercial Electric retrofit lights are damp-location rated and designed to operate reliably in temperatures ranging from -13°F to 113°F. This makes them tough enough to survive our cold Colorado winters and hot summer afternoons.
Step-by-Step Commercial Electric LED Light Installation
Installing a basic flush mount light is a project many confident DIYers can handle in an afternoon. It requires only a few basic tools and a careful, methodical approach to safety.

Before you begin, gather the following tools:
- A non-contact voltage tester
- A Phillips head screwdriver
- Wire strippers
- Wire nuts (usually included with the fixture)
- Safety glasses and a sturdy ladder
If you are planning a larger project or feel uncomfortable working around live electrical panels, it is always wise to bring in a professional. You can read our guide on How to Choose the Best Commercial Lighting Contractor to help you find a trusted expert in your area.
Preparing for Your Commercial Electric LED Light Installation
The absolute most important step of any electrical project is safety. Never rely on a wall switch to cut the power. Wall switches only interrupt the hot wire, leaving the neutral wire active, which can still give you a nasty shock if there is a wiring fault elsewhere in the circuit.
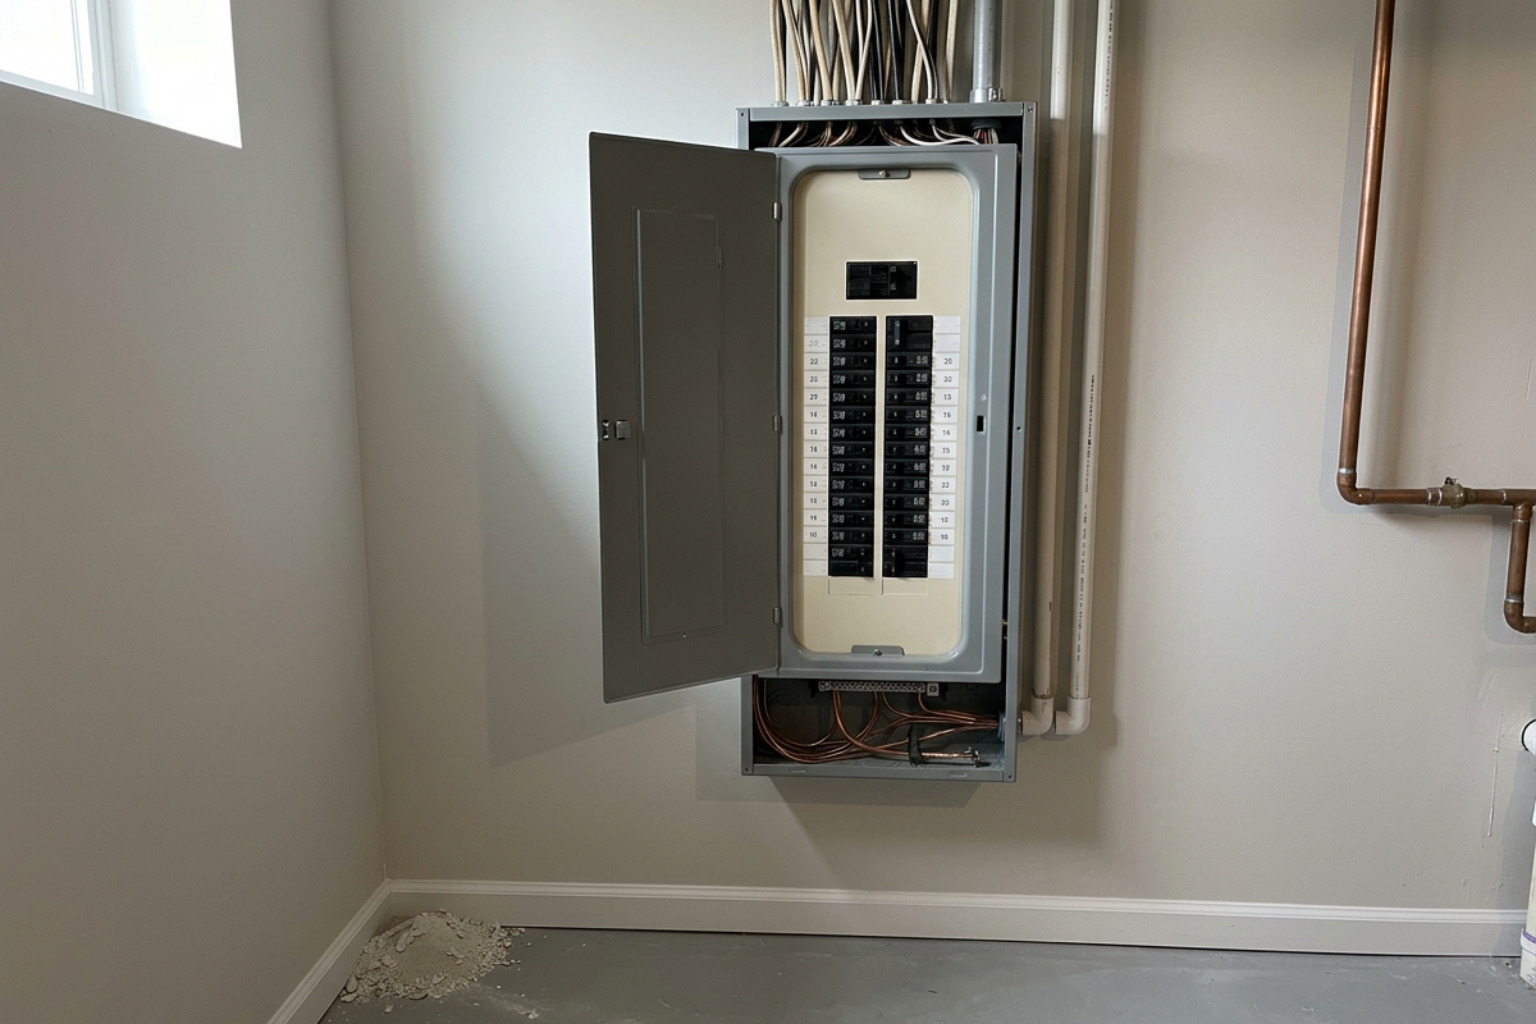
- Shut off the power: Go to your main electrical panel and flip the breaker for the circuit you will be working on.
- Verify the power is off: Use a non-contact voltage tester on the existing light fixture and the wall switch. Hold the tester close to the wires. If it chirps or lights up, the circuit is still live. Double-check your breaker panel.
- Protect yourself: Wear rubber-soled shoes, work on a dry fiberglass or wooden ladder, and keep your safety glasses on to protect your eyes from ceiling debris.
Wiring and Mounting Your New Fixture
Once you have confirmed the power is completely off, remove the old fixture and expose the junction box (J-box). You should see three wires coming from the ceiling: a black (hot) wire, a white (neutral) wire, and a green or bare copper (ground) wire.
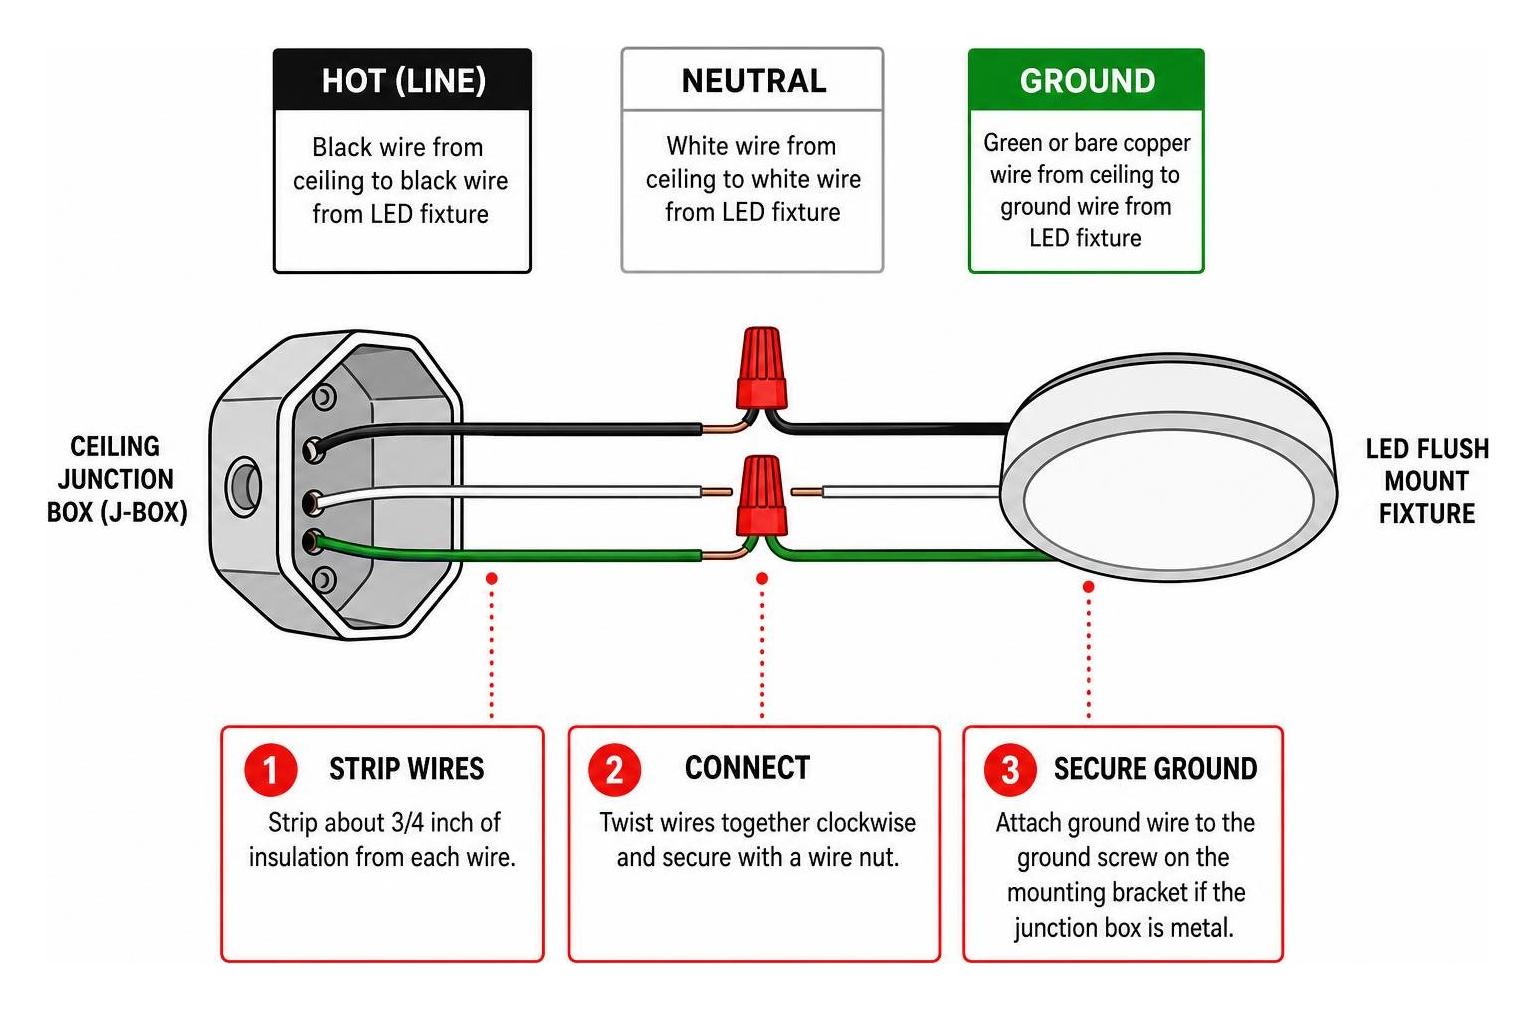
Here is how to wire and mount your new Commercial Electric flush mount fixture:
- Install the mounting bracket: Screw the included metal mounting bracket to your junction box using the provided J-box screws. Ensure it is tight and does not wobble.
- Set your preferences: Before hanging the light, look at the back of the fixture. Set the color temperature (CCT) slide switch and motion sensor settings to your liking. It is much easier to do this now than after the light is mounted!
- Connect the ground wire: Connect the green ground wire from your fixture to the bare copper or green ground wire in your ceiling box. Twist them together clockwise and secure them with a wire nut. If your ceiling box is metal, you must also secure the ground wire to the green grounding screw on the mounting bracket.
- Connect the neutral wire: Twist the white wire from the fixture to the white wire from the ceiling. Secure it tightly with a wire nut.
- Connect the hot wire: Twist the black wire from the fixture to the black wire from the ceiling. Secure it with a wire nut.
- Double-check your connections: Gently tug on each wire nut to ensure the wires are locked in tight. No bare copper (other than the ground wire) should be visible outside the wire nuts.
- Tuck and mount: Carefully fold the wires up into the junction box. Align the slots on the back of the fixture with the screws on the mounting bracket. Push the fixture up and twist it clockwise to lock it into place, then tighten the screws.
If you are retrofitting existing recessed downlights instead of using a flush mount, the process is even simpler. You screw the Edison-base adapter into the socket, plug the orange quick-connect terminal into the new LED trim, compress the spring clips, and push the light up into the can.
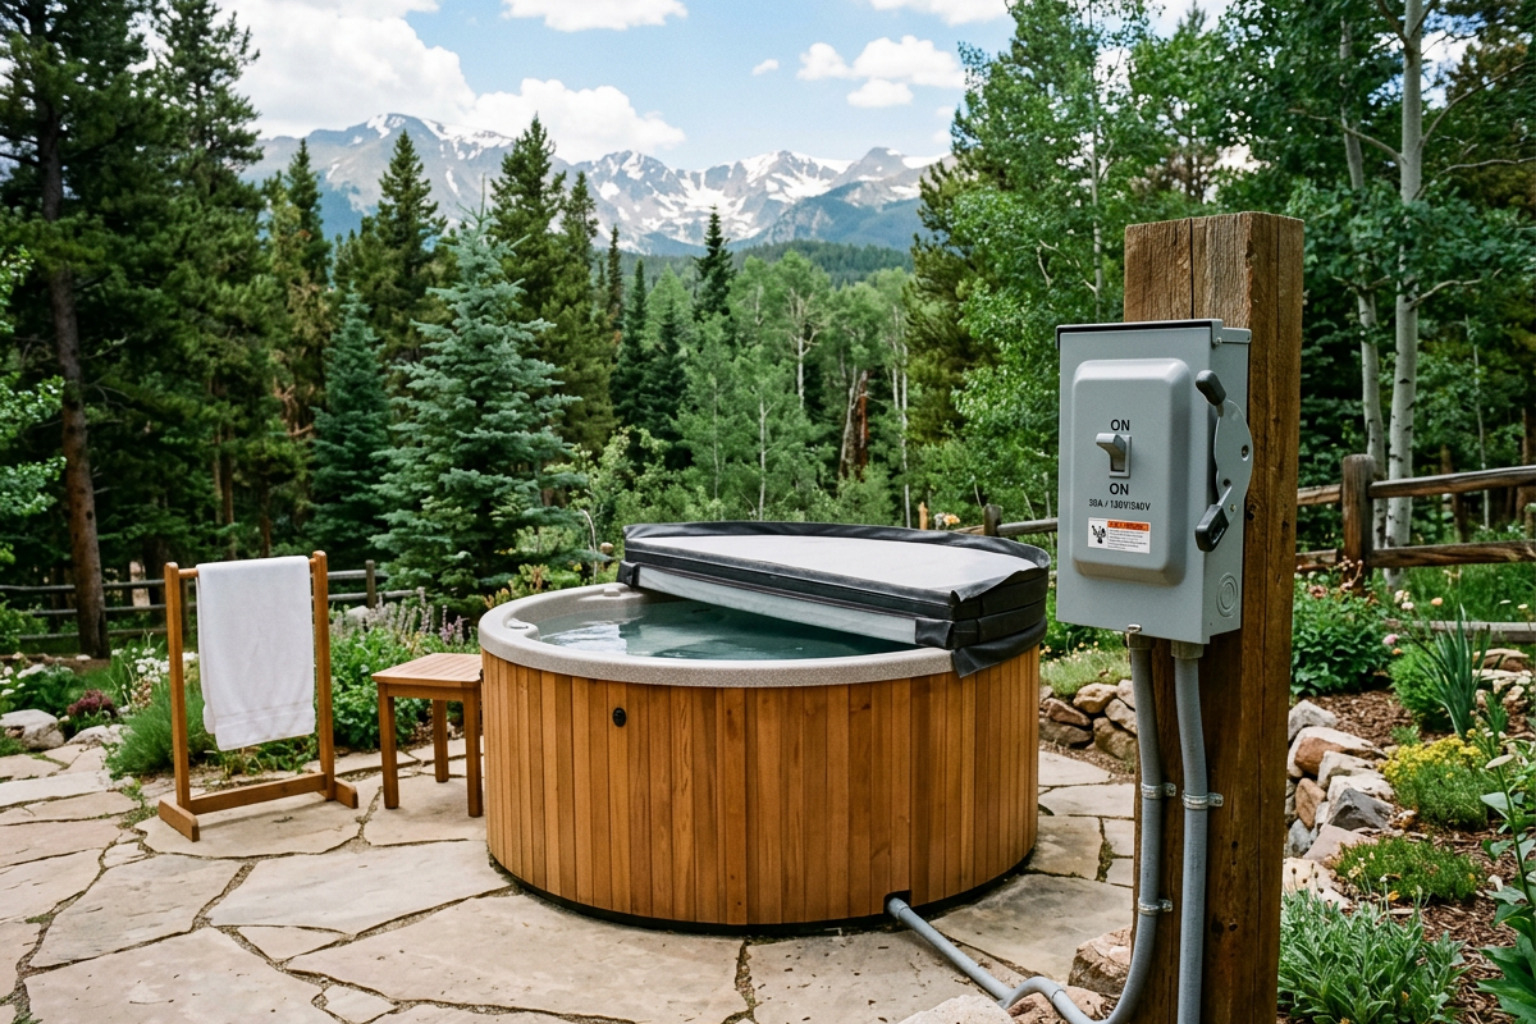
While basic wiring is straightforward, complicated installations involving high-voltage lines, dedicated circuits, or commercial ceiling grids require specialized training. For example, if you are planning a high-end home improvement like a backyard spa, precise electrical work is vital.
As the authorized electrical installer for Colorado Custom Spas, we know that using a certified professional ensures your high-voltage wiring meets exact manufacturer specifications, keeping your product warranties fully intact and your family safe. The same level of care should be applied to your home’s lighting grid.
Adjusting Color Temperature and Motion Sensor Settings
One of the best features of modern Commercial Electric LED lights is their adaptability. You are no longer stuck with whatever light bulb color you bought at the store.
Most fixtures feature a Correlated Color Temperature (CCT) switch on the back. This allows you to choose from five different light colors:
- 3000K (Soft White): A warm, cozy light perfect for bedrooms, living rooms, and relaxed dining areas.
- 3500K (Neutral White): A balanced, clean light that works well in kitchens and bathrooms.
- 4000K (Bright White): A crisp, energizing light ideal for home offices, garages, and commercial workspaces.
- 5000K (Daylight): A cool, bright light that mimics natural outdoor light, great for task lighting and detail-oriented workspaces.
- 6500K (Daylight Deluxe): An ultra-cool, high-contrast light often used in commercial utility spaces.
Many models also include an integrated microwave motion sensor. Unlike traditional infrared sensors that require a direct line of sight, microwave sensors can detect motion through thin walls and glass. This makes them incredibly responsive.
Fine-Tuning Your Commercial Electric LED Light Installation
To get the most out of your motion-sensing flush mount, you need to configure the dials located on the back of the fixture:
- Detection Range: You can typically set this to low (0-5 feet), medium (5-10 feet), or high (10-15 feet). For an average 8-to-9-foot ceiling, the medium setting is usually perfect.
- Auto-Off Timer: The light is programmed to turn off automatically after 5 minutes of no detected motion, helping you save on your monthly utility bills.
- Switch Mode: If you set the physical slide switch on the fixture to “SWITCH” mode, you can change the color temperature directly from your wall light switch. Simply toggle the wall switch off and on within 0.5 to 3 seconds to cycle through the five color options.
Troubleshooting Common LED Fixture Issues
Even with high-quality fixtures, you might occasionally run into a hiccup after installation. Here is a quick guide to diagnosing the most common issues.
- The light won’t turn on at all: First, verify that the circuit breaker is on. If it is, turn the power back off and check your wire connections. A loose wire nut on the hot or neutral line is the most common culprit.
- The light is flickering or flashing: This usually happens when an LED fixture is connected to an older dimmer switch designed for incandescent bulbs. LEDs require specialized LED-compatible dimmer switches to operate smoothly.
- The motion sensor triggers falsely: Because microwave sensors can “see” through drywall, a sensor set to high sensitivity might detect movement in an adjacent hallway or bathroom. Try lowering the detection range dial on the back of the fixture. Also, keep the fixture at least 5 feet away from Wi-Fi routers, as wireless signals can sometimes confuse the sensor.
- Multiple lights are showing different colors: If you have several fixtures on the same switch set to “SWITCH” mode, they can sometimes fall out of sync. To reset them, quickly toggle your wall switch on and off 7 times within 5 to 10 seconds. This resets all connected lights to the default 3000K setting.
If a fixture continues to malfunction after you have verified the wiring and settings, Commercial Electric products are warranted to be free from defects for up to 5 years from the date of purchase. Keep your receipt, and you can contact their customer support line at 1-877-527-0313 for a replacement.
For business owners looking to avoid these troubleshooting headaches entirely, upgrading your commercial space with professional help is often the most cost-effective path. Read more about how we handle commercial upgrades on our Lighting Upgrades Commercial Properties page.
Frequently Asked Questions About Commercial LED Lighting
How do I reset the color temperature if my fixtures do not match?
If your lights get out of synchronization, set the wall switch to ON, then toggle it OFF and ON 7 times quickly (within 5 to 10 seconds). This simple sequence resets all connected fixtures back to the warm 3000K starting color, allowing them to cycle together once again.
Can I install these LED lights in damp locations like bathrooms?
Yes, most Commercial Electric flush mounts and recessed retrofits are rated for damp locations. This means they can safely handle moisture and humidity in bathrooms, laundry rooms, and covered outdoor ceilings. However, they should not be directly exposed to standing water or heavy rain unless they are specifically rated as “wet location” fixtures.
Do I need a permit for commercial lighting upgrades?
In Denver, Castle Rock, Centennial, and surrounding communities, simple “like-for-like” light fixture replacements generally do not require a permit. However, if you are running new wiring, adding circuits, upgrading your electrical panel, or doing a complete commercial remodel, local building codes require an electrical permit and a safety inspection.
Working with a licensed professional ensures your business stays fully compliant with local codes and avoids any insurance or safety liabilities. You can learn more about our commercial capabilities on our Commercial Services page.
Conclusion
Upgrading to LED fixtures is one of the smartest investments you can make for your Denver Metro home or business. Whether you choose to tackle a simple DIY flush mount installation or plan a complete commercial lighting redesign, the benefits of lower energy bills, customizable color temperatures, and zero maintenance speak for themselves.
At Harmony Electric, we believe in doing the job right the first time. Led by Master Electrician Randy Harmuth, our team brings professional expertise, clear communication, and honest recommendations to every project across Denver, Lone Tree, Parker, Highlands Ranch, and beyond.
If you would rather leave the wiring, ladder climbing, and code compliance to the pros, we are here to help. Contact us today to schedule your upgrade, or visit our Commercial Lighting Installation page to learn more about how we can brighten your space.