Why Home EV Charging Makes Sense
A charging point installation at home is a clear process. Here’s a quick look:
The Installation Process at a Glance:
- On-site assessment – An electrician evaluates your electrical panel for capacity.
- Planning – Choose the charger location, wiring route, and connection type.
- Permits and upgrades – Obtain permits and complete any necessary panel work.
- Installation day – Install a 240V circuit, mount the charger, and test (2-4 hours).
- Final walkthrough – Learn how to use your new charger safely.
With about 80% of EV charging happening at home, installing your own charger is a smart move. You can charge overnight, skip the lines at public stations, and pay predictable electricity rates.
I’m Randy Harmuth, a master electrician in the Denver area. I’ve installed hundreds of home EV chargers, and the process is more straightforward than you might think. It requires a licensed electrician and a permit, but it’s not complicated with the right professional.
A complete Level 2 charger installation typically costs between $800 and $2,500, including the unit, labor, and permits. Costs can be higher if your electrical panel needs an upgrade, but many jobs are straightforward.
The real benefit is reliability. Your car is always ready, so you don’t have to plan trips around public charging stations.
This guide will walk you through the installation process, costs, and how to avoid common pitfalls.

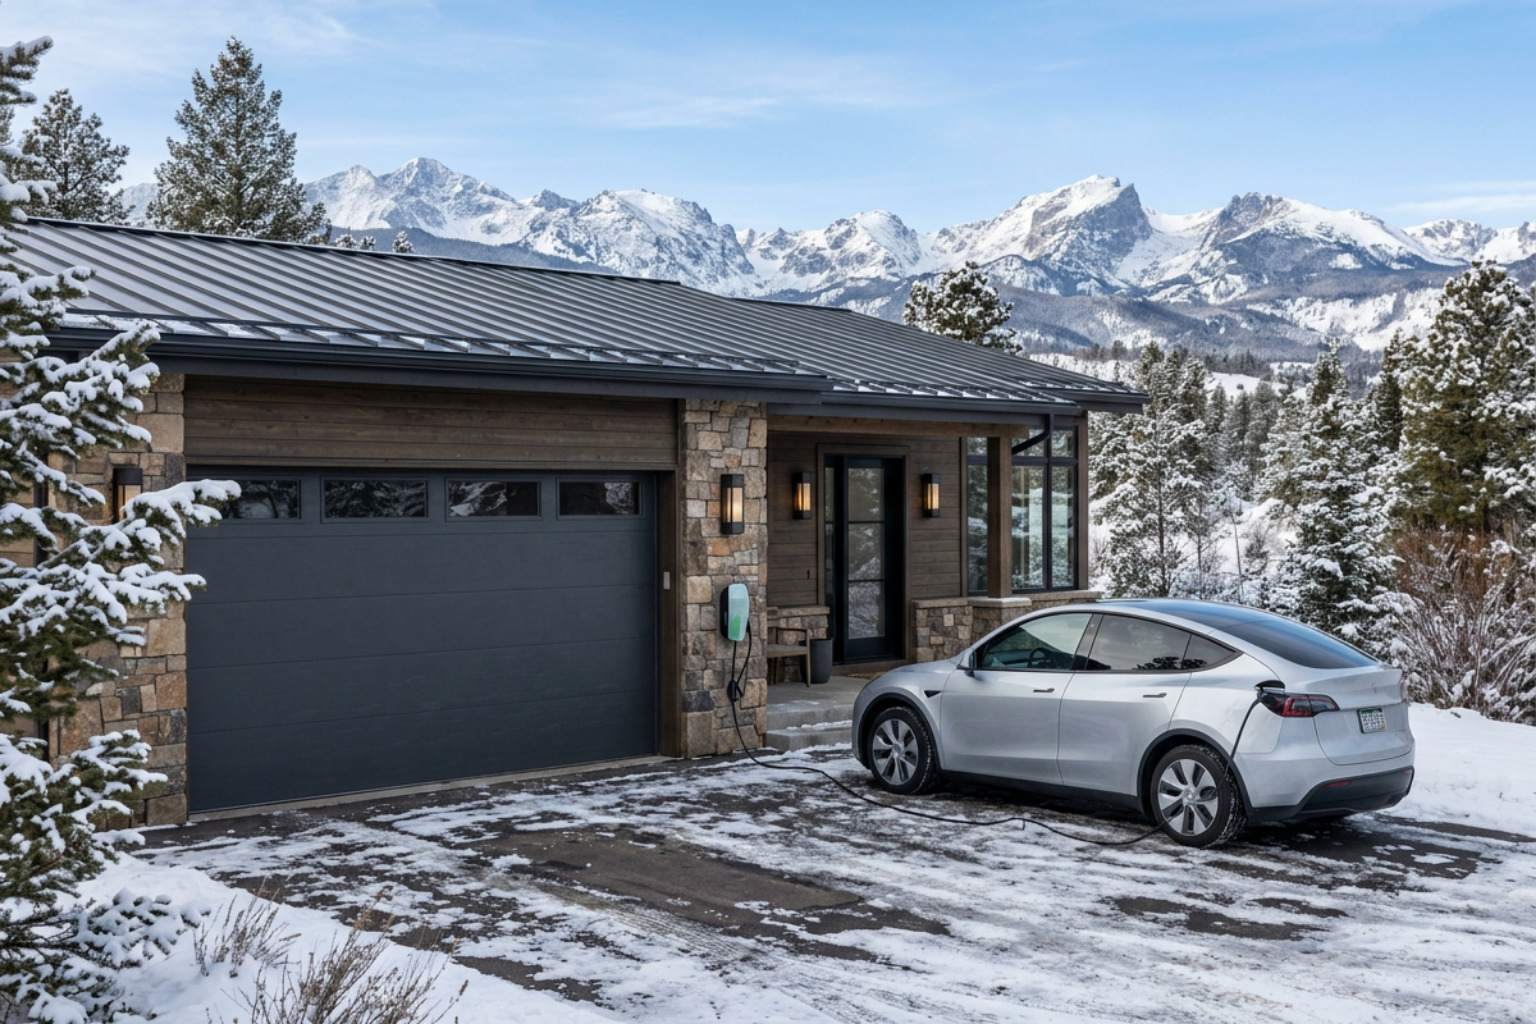
Why Charge at Home? Picking the Right Charger for Your Needs
Installing a home EV charger makes life easier. You plug in at night and wake up to a full charge, avoiding the hassle of public stations. Plus, home charging lets you use lower, off-peak electricity rates, saving you money. It’s reliable, convenient, and just plain smart.
If you’re looking for more details on the different levels of EV charging, we’ve put together a guide on our site: EV Charger Levels Guide for Home.
Charger Levels Explained: Which One is for You?
For home use, you’re really choosing between two levels of charging, each with different speeds and electrical needs.
Here’s a quick comparison of the chargers you’ll typically consider for home:
| Feature | Level 1 Charger | Level 2 Charger |
|---|---|---|
| Charging Speed | Slowest; 2-5 miles of range per hour | Much faster; 10-40+ miles of range per hour |
| Voltage | 120V (standard household outlet) | 240V (similar to an electric dryer or oven) |
| Installation | Plugs into any standard outlet; no special installation needed | Requires a dedicated 240V circuit and professional installation |
| Best Use Case | Plug-in hybrids, minimal daily driving, occasional top-offs | All-electric vehicles, daily commuters, primary home charging solution |
Let’s break them down:
- Level 1 Charger: This is the simplest option, using a standard 120V outlet. Most EVs include a Level 1 cord. It’s very slow, adding only 2-5 miles of range per hour, which can be fine for plug-in hybrids or very short daily drives. For most all-electric vehicle owners in the Denver area, it’s too slow for daily use. You can read more about Level 1 charging.
- Level 2 Charger: This is the best choice for most EV owners. Using a 240V outlet, it adds 10-40+ miles of range per hour, making it perfect for overnight charging. A typical EV can get a full charge in about seven hours. For homes around Denver, a Level 2 charger offers the right balance of speed and electrical demand. You can get more details on More on Level 2 chargers.
- Level 3 / DC Fast Charging: These are the super-fast chargers at public stations. They are not for home installation due to their high power needs and cost. Frequent use can also reduce your battery’s lifespan. For home charging, Level 2 is the practical, battery-friendly choice.
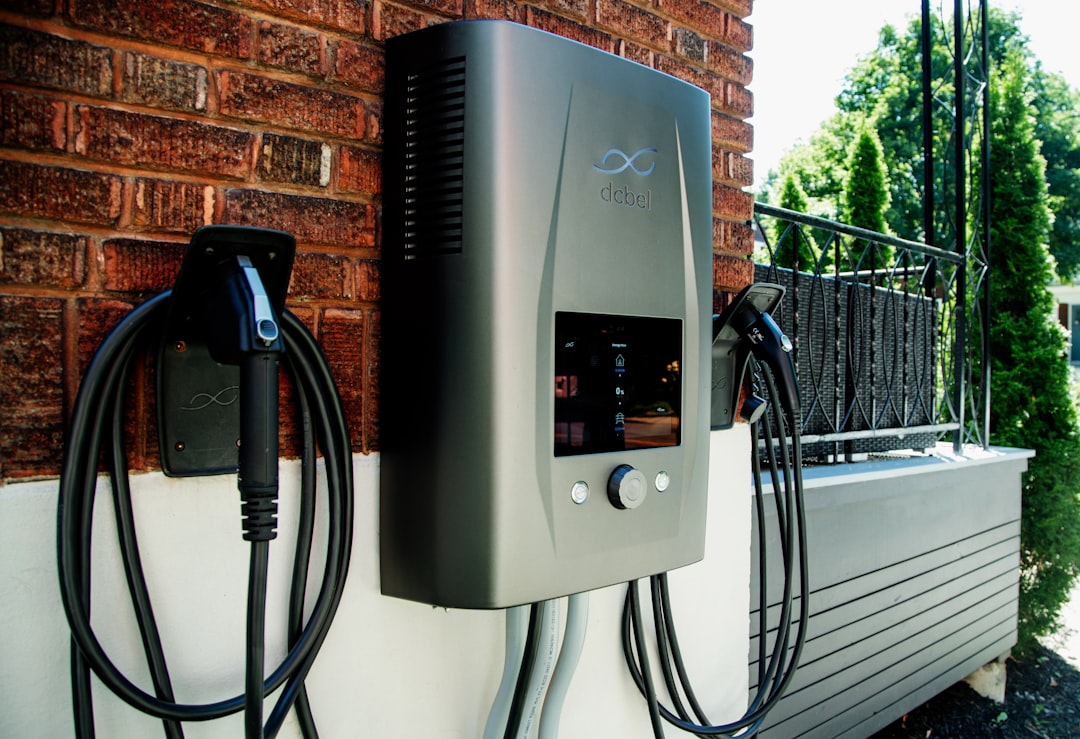
Hardwired vs. Plug-In Chargers
Once you’ve decided on a Level 2 charger, you’ll choose between a hardwired or plug-in connection.

- Hardwired Installation: The charger is permanently connected to your home’s wiring.
- Pros: Allows for slightly higher power delivery (faster charging). It has a clean, permanent look with no risk of a loose plug and is often preferred for outdoor installations.
- Cons: It’s a permanent setup. Replacing the unit requires an electrician.
- Plug-in Installation: The charger plugs into a dedicated 240V outlet (NEMA 14-50 or 6-50).
- Pros: It’s flexible and portable; you can unplug it and take it with you if you move. It’s also easy to replace the unit yourself if needed.
- Cons: The cord and plug can be susceptible to heating if not installed correctly. Outdoor installations require a GFCI breaker for safety.
A plug-in Level 2 charger is a popular choice in the Denver area for its convenience. However, a hardwired unit offers a cleaner look and potentially more power. We’ll discuss both options during your on-site assessment to find the best fit.
The Step-by-Step Guide to Your Home EV Charging Point Installation
The actual process of your charging point installation at home is where a qualified, local electrician makes all the difference. We follow careful steps to ensure safety, efficiency, and code compliance. You can find more about our process for Installing EV Charger at Home.
Step 1: The On-Site Assessment
The first and most crucial step is a thorough on-site assessment of your electrical system. I’ll come to your home in the Denver area to perform this check.
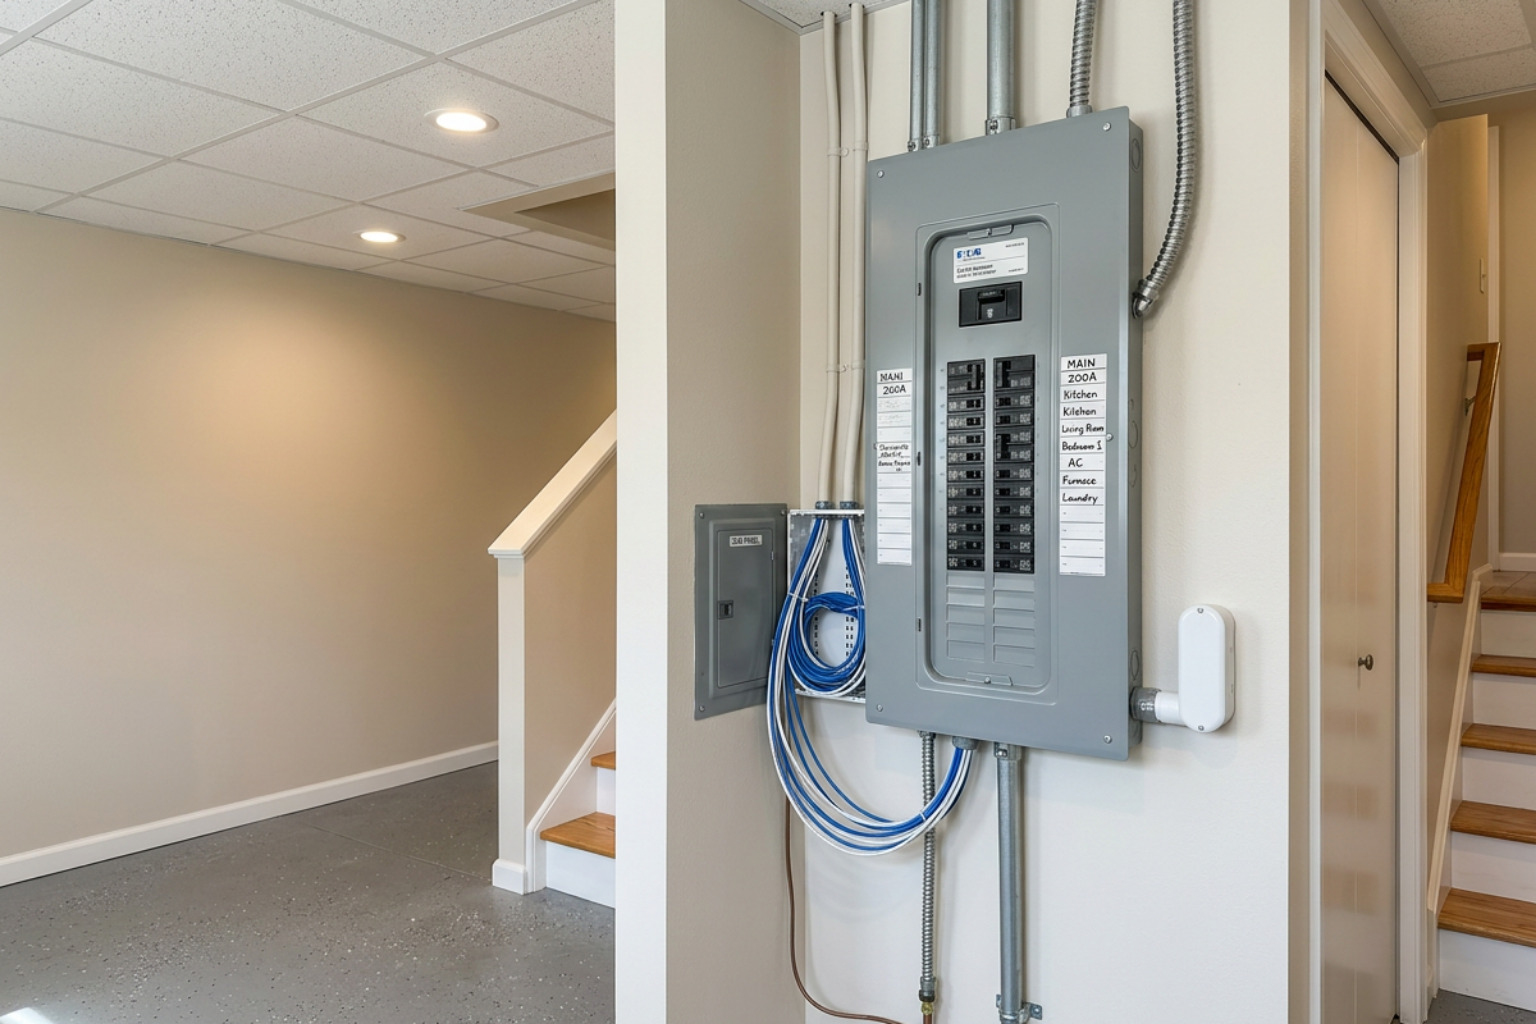
- Load Calculation: We perform a detailed load calculation to see how much electricity your home uses and determine if your panel has enough spare capacity for an EV charger.
- Electrical Panel Check: We check your main master breaker panel to assess its capacity, age, and condition, ensuring it can safely handle the new load.
- Honest Recommendations: Based on this assessment, we provide a clear, honest recommendation. If your panel has room, great. If it needs an upgrade, we’ll explain why and what your options are.
This initial check helps us avoid surprises and ensures your charger will operate safely for years.
Step 2: Planning the Installation
Next, we plan the installation specifics.

- Choosing a Location: Most people install their charger in the garage, but a carport or exterior wall can also work. We’ll help you pick a practical spot.
- Charger Placement: We’ll help you choose a spot on the same side as your car’s charge port, typically 3-4 feet from the outlet and at least 18 inches off the ground for safety and convenience.
- Wiring Route: We map the safest and most efficient route for the new wiring from your panel to the charger.
- Indoor vs. Outdoor Installation: For outdoor installations, we use weather-rated equipment to protect against the elements.
Step 3: Permits and Electrical Upgrades
We handle the permits and any necessary upgrades to make the process smooth for you.
- Permitting Process: A permit is required for this type of electrical work. It’s a crucial safety step ensuring the job meets the National Electrical Code (NEC) and passes inspection. Skipping a permit can void your home insurance. We handle all the paperwork.
- Panel Upgrades: Based on our load calculation, your home might need a panel upgrade, which is common in older homes around Castle Rock or Parker. If your panel can’t support the charger’s demand, an upgrade (e.g., from 100 to 200 amps) is essential for safety.
- Load Management Systems: If a full panel upgrade isn’t ideal, a smart load management system can be an alternative. It monitors your home’s electricity use and can temporarily reduce power to the charger to prevent overloads.
- Meter Collars: Another solution is a meter collar, which pulls power for the charger directly from your electric meter, bypassing the main panel. We can check if this is an option for you.
Step 4: The Installation Day
Once permits and upgrades are done, we begin the installation.
- Typical Timeline: A standard installation takes 2 to 4 hours. More complex jobs, like a panel upgrade, can take 1 to 3 days.
- Dedicated 240V Circuit: We install a dedicated 240V circuit, giving the charger its own independent power supply.
- Proper Wiring and Breaker: We use high-quality, correctly sized wiring and the right circuit breaker for your charger’s amperage.
- Testing the Charger: After installation, we thoroughly test the charger to ensure it’s working perfectly.
- Clean-up: We always leave your home cleaner than we found it.
Understanding the Costs and Finding Savings
When you consider a charging point installation at home, the cost is usually one of the first questions on your mind. Think of it as an investment in your home’s future and your daily convenience. A quality installation ensures priceless safety and reliability. You can find more details on our EV Charger Installation Pricing page.
Key Factors for Your charging point installation at home
The total cost varies based on these main factors:
- Charger Cost: The unit itself typically costs between $500 and $2,000, depending on brand, power, and features.
- Installation Labor: Standard installations in the Denver area usually fall between $800 and $2,500.
- Distance from Panel: The farther the charger is from your panel, the more wire and conduit are needed, increasing costs.
- Panel Capacity: If your panel needs an upgrade, this can add $1,000 to $3,000 to the total cost. A load management system is a less expensive alternative.
- Permit Fees: These mandatory fees typically range from $50 to $300 in the Denver Metro Area.
So, while the average price for Level 2 charging equipment and installation often runs around $2,000 nationally, your specific cost will depend on these factors. We always provide a transparent quote after our on-site assessment.
Government Incentives and Rebates
Here’s some good news! There are often programs available to help offset the cost of your charging point installation at home.
- Federal Tax Credit: A federal tax credit offers 30% up to $1,000 for the cost of your charger and installation. This credit is available through 2032.
- State and Local Rebates: Colorado is quite proactive when it comes to EV adoption. Many states and utilities now offer credits and rebates for purchasing and installing EV charging stations. For example, in Colorado, homeowners may qualify for up to $1,300 through Xcel Energy and local utilities. We always recommend checking for specific programs in your area.
- Utility Company Programs: Your local utility might offer rebates or special rates for EV owners to encourage off-peak charging.
- Manufacturer Incentives: Don’t forget to check with your EV’s manufacturer! Some car brands may cover all or part of your home charging station installation costs.
A great resource for finding incentive programs in your area is the Database of State Incentives for Renewable Energy. Simply enter your ZIP code and filter by charging equipment to see what’s available for your home in Denver or surrounding communities like Lone Tree or Castle Pines.
Smart Features and Future-Proofing Your Setup
Modern EV chargers are more than just a plug for your car; they’re smart devices that can integrate into your home and save you money. Thinking about these features now can really future-proof your charging point installation at home.
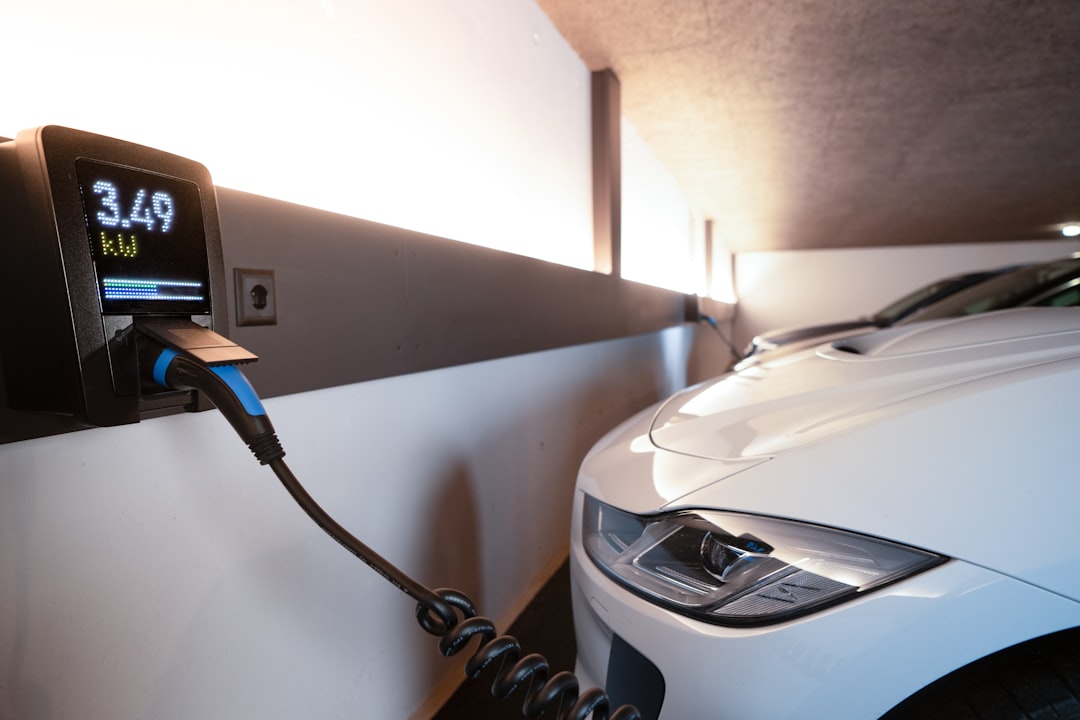
Smart Chargers and App Control
Many new Level 2 chargers come with smart features that can make your life even easier.
- Wi-Fi Connectivity: Smart chargers connect to your home Wi-Fi, allowing them to be controlled and monitored remotely.
- Scheduling Charging: This is a big one for saving money. You can use an app on your smartphone to schedule your EV to charge during off-peak hours when electricity rates are lower.
- Energy Monitoring: The app can track how much electricity your EV is consuming and even estimate your charging costs.
- Remote Control: Forgot to plug in, or need to start charging unexpectedly? You can control your charger from anywhere using your phone.
- Alerts: Get notifications when your car starts charging, stops, or reaches a certain battery percentage.
These features offer convenience and help you optimize your charging habits to save money on your electricity bill.
Connector Types: J1772 vs. NACS (Tesla)
When choosing your charger, the connector type is important, as it needs to match your vehicle.
- J1772 Standard: This is the universal connector type for nearly all electric vehicles sold in North America, except for Teslas (until recently). If you own a Chevy Bolt, Nissan Leaf, Ford Mustang Mach-E, or most other EVs, this is the connector you’ll need.
- NACS (Tesla) Plug: Historically, Teslas used their proprietary connector, known as the North American Charging Standard (NACS). If you own a Tesla, you’d typically get a Tesla Wall Connector. However, many non-Tesla EVs can charge at Tesla Boostrs using an adapter, and increasingly, other manufacturers (like GM and Ford) are adopting the NACS standard for their future vehicles. This means the NACS plug is becoming more universal.
- Adapters: If you have a J1772 charger but own a Tesla, you can use a simple adapter that usually comes with your Tesla. If you have a NACS charger and a J1772 vehicle, you’d need a third-party adapter.
The good news is that most home chargers are available with either a J1772 or NACS connection, so you can choose what works best for your current vehicle. With the trend towards NACS adoption, it’s worth considering for future compatibility, but adapters are always an option.
Can Your EV Power Your Home? (V2H)
This is one of the most exciting developments in EV technology! Some electric vehicles are now equipped with bidirectional charging capabilities, meaning they can not only draw power from your home but also send power back to it. This is often called Vehicle-to-Home (V2H).
- Powering Your Home During an Outage: During a power outage in an area like Castle Rock, your EV can act as a battery for your home, powering essential appliances. According to J.D. Power, the bidirectional charging capabilities of some EV batteries enable them to send power from the vehicle to another source, such as the power grid (V2G) or your home.
- Specialized Equipment Required: To use this feature, you need more than just a compatible EV. You’ll need a special bidirectional charger and a home energy management system that can safely integrate your vehicle with your home’s electrical panel. This setup is more complex and typically costs around $5,000 for the hardware and installation.
- Compatible EVs: While this technology is still emerging, certain EVs like the Ford F-150 Lightning are already offering V2H. It’s a fantastic way to add an extra layer of energy resilience to your home.
While V2H isn’t a standard feature for most home EV charging point installations yet, it’s something worth keeping in mind as technology advances.
Frequently Asked Questions about charging point installation at home
I get a lot of common questions from homeowners in Highlands Ranch, Lone Tree, and across the Denver area. Here are some of the most frequent ones.
Can I install an EV charger myself?
While some plug-in types seem simple, DIY installation is strongly discouraged. Electrical work is dangerous, and mistakes can cause fires. Most Colorado jurisdictions require a licensed electrician and a permit for safety and code compliance. A DIY job can void your home insurance and cause issues when you sell. Trust me, it’s not worth the risk. Always hire a professional for your charging point installation at home.
How long does the installation take?
A standard installation, where your electrical panel has enough capacity and is close to the garage, usually takes us 2 to 4 hours. If we need to upgrade a panel or run a long, complex wire route, it could take one to three days. We’ll give you a clear timeline after our initial on-site assessment.
Will an EV charger increase my home’s value?
Yes. An EV charger is a desirable feature for homebuyers, especially in the Denver market. According to Realtor.com, homes with chargers often sell faster and at a premium. It’s a smart upgrade that makes your home more modern and appealing.
Ready to Get Your Home EV-Ready?
Installing a home charging point installation at home is one of the best ways to improve your EV experience. It’s safer, faster, and more convenient than relying on public stations. At Harmony Electric, we focus on doing the job right the first time with clear communication and quality workmanship, backed by a lifetime guarantee on select installations. We believe in honest recommendations and respect for your home. If you’re in the Denver area and ready for a professional, no-hassle installation, we’re here to help.
Learn more about our EV charger installation services and get a straightforward quote today.