Why Car Charger Home Installation Is the Key to Easy EV Ownership
Car charger home installation is the smartest move most electric vehicle owners make. Here’s what you need to know:
Quick Answer: Home EV Charger Installation Steps
- Choose your charger type – Level 1 (120V, slower) or Level 2 (240V, faster, recommended)
- Check your electrical panel – Most need 200-amp service for Level 2 charging
- Pick your location – Garage or outdoor spot near your panel
- Hire a licensed electrician – Required for safe installation and permits
- Get permits and inspection – Ensures code compliance and insurance coverage
- Install and test – Usually takes a few hours for straightforward setups
- Apply for rebates – Federal tax credits up to $1,000, plus local incentives
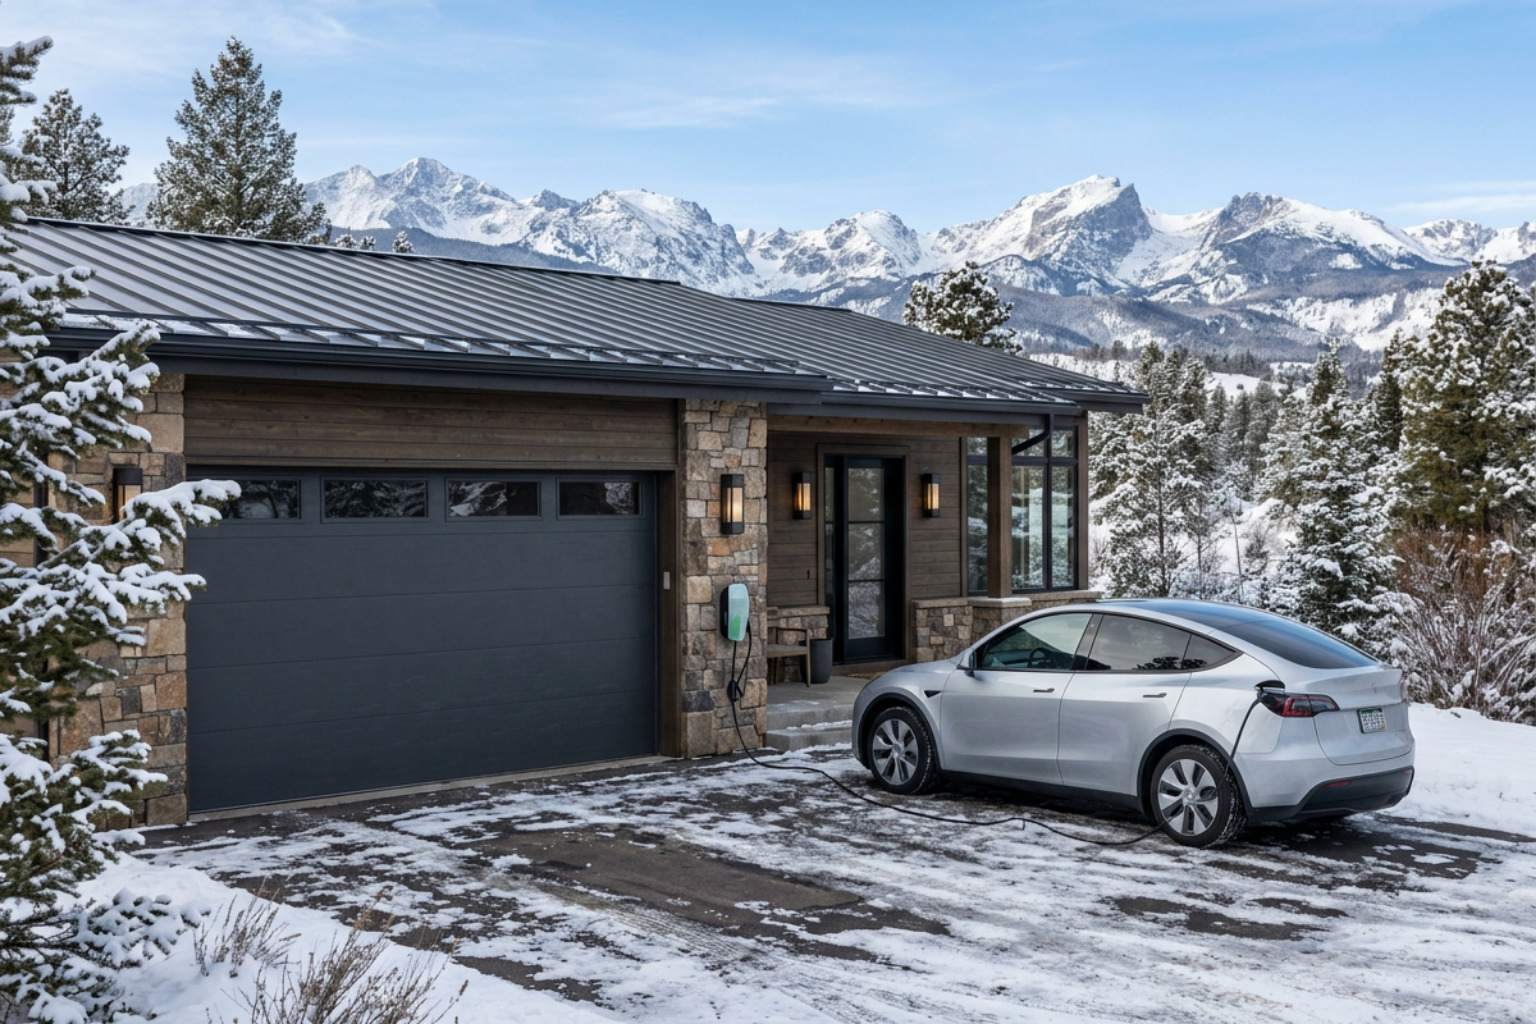
If you’ve recently bought an EV or you’re thinking about it, you’ve probably realized that where you charge matters just as much as what you drive.
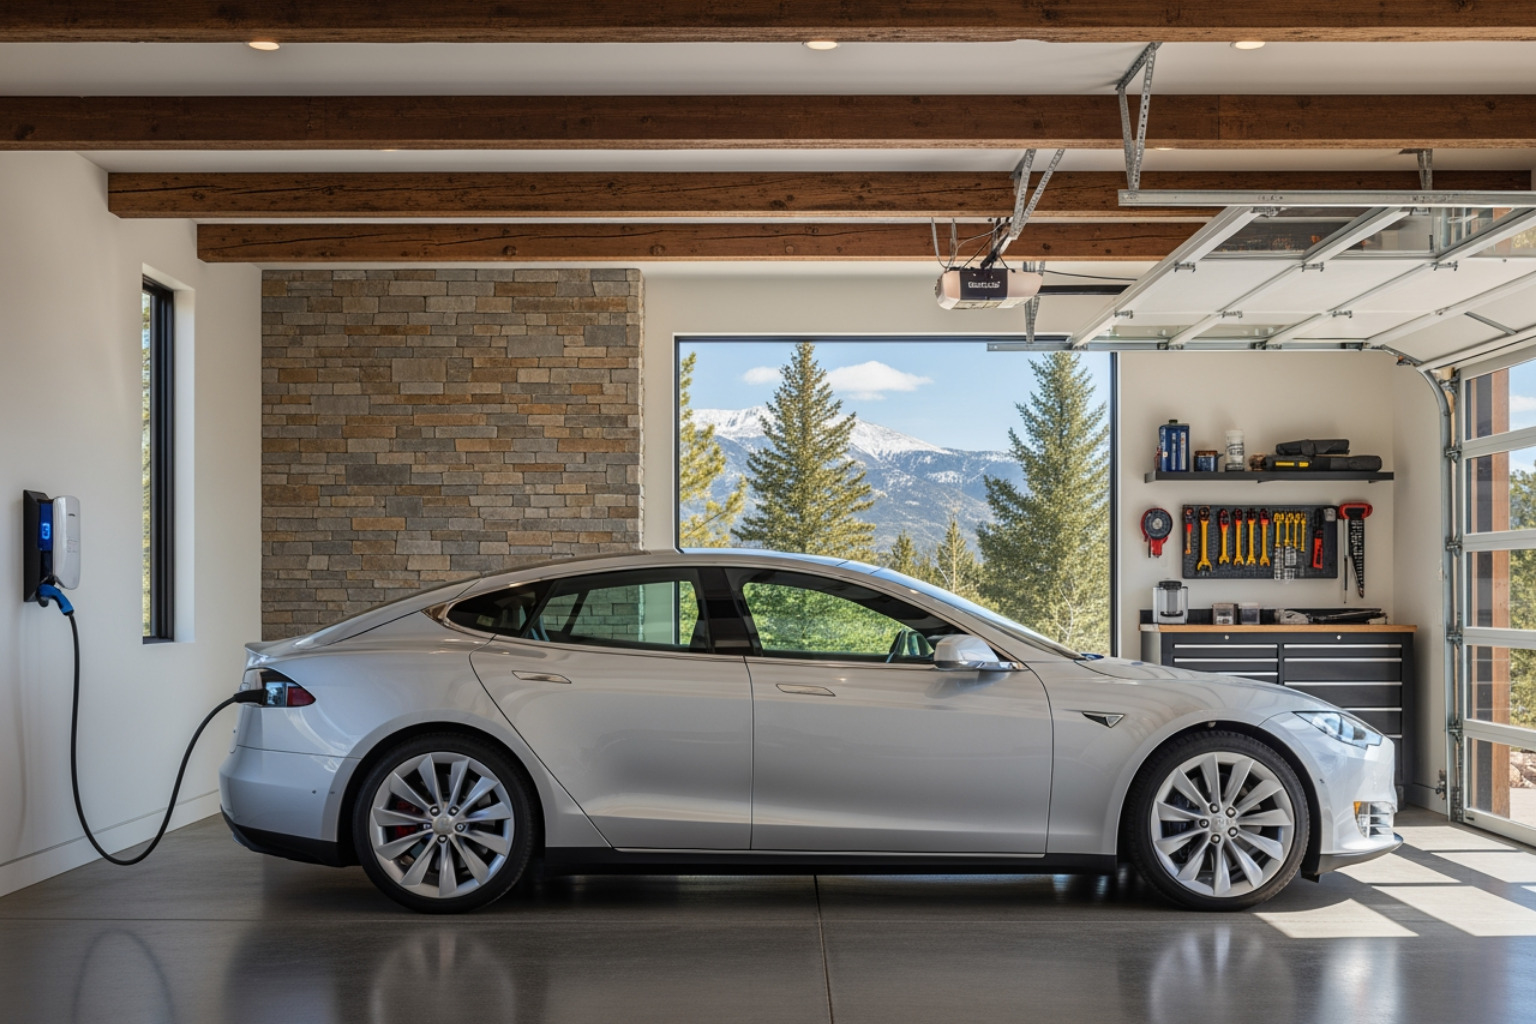
Over 80% of EV owners charge at home. And it makes sense. You pull into your garage, plug in your car like you would your phone, and wake up to a full battery. No detours to public charging stations. No waiting around in parking lots.
Home charging also costs less. You’re using your own electricity—often at off-peak rates—instead of paying premium prices at public chargers.
But getting a charger installed the right way isn’t as simple as screwing in a light bulb. Your home’s electrical system needs to support it. You need the right equipment. And in Denver, you need permits and a licensed electrician to make sure everything’s safe and up to code.
That’s what this guide is for. I’ll walk you through what it really takes to install an EV charger at home—what to expect, what it costs, and how to make sure the job is done right the first time.
, and DC Fast Charging adds 60-80% in 20-40 minutes (commercial stations only). Includes estimated installation costs and electrical requirements for each level. - car charger home installation infographic")
Car charger home installation terms you need:
- 7kW home charging point
- Average cost of EV charger installation
First Things First: Sizing Up Your Needs and Your Home

When we talk about car charger home installation, the first step is always to figure out what kind of charger you need and what your home’s electrical system can handle. It’s about matching the right setup to your car, your driving habits, and your unique Denver home.
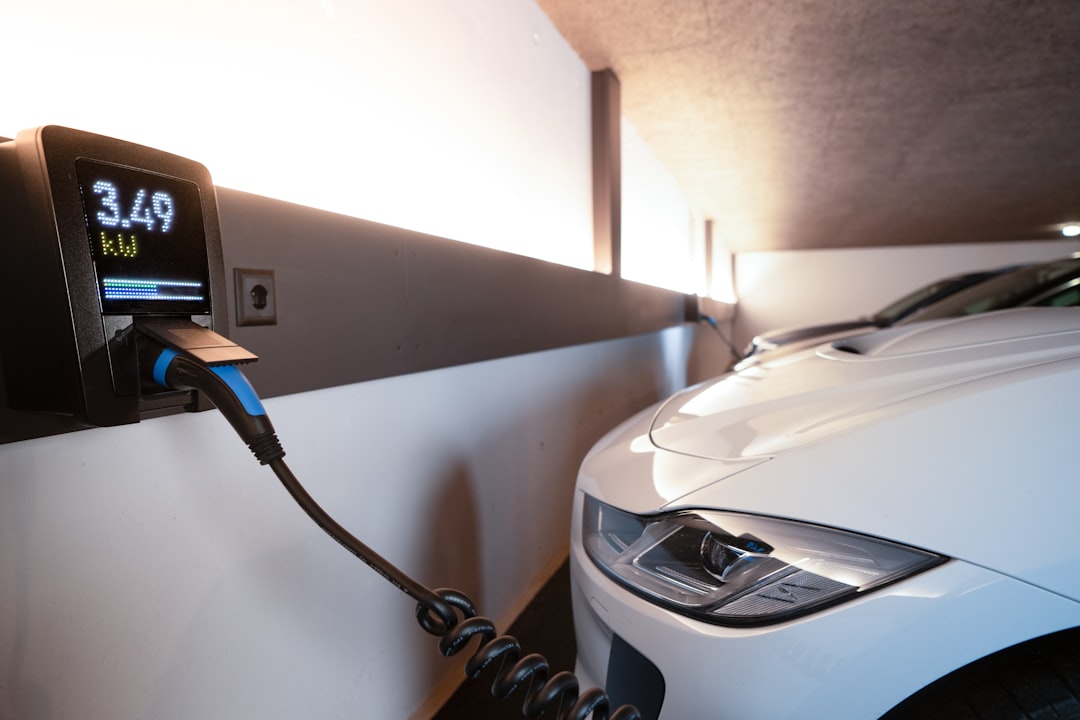
Level 1 vs. Level 2 Charging: What’s the Real Difference?
Think of EV charging like filling up a glass of water.
-
Level 1 Charging is like a slow drip. It uses a regular 120-volt household outlet—the same kind you plug your lamps or phone into. It’s convenient because it doesn’t require any special wiring, but it’s slow, adding only about 4-5 miles of driving range per hour. This might be enough if you have a plug-in hybrid or drive very little each day. However, relying on a standard outlet for continuous high load can be detrimental to your home’s circuit, potentially causing issues like burned receptacles.
-
Level 2 Charging is like turning on the faucet. This is what most Denver homeowners choose for their fully electric vehicles. It requires a dedicated 240-volt circuit, similar to what your electric dryer or oven uses. A Level 2 charger can add up to 25 miles of range per hour, meaning you can fully charge most EVs overnight. This faster speed and efficiency make it the preferred option for daily EV use, ensuring you wake up to a full battery every morning.
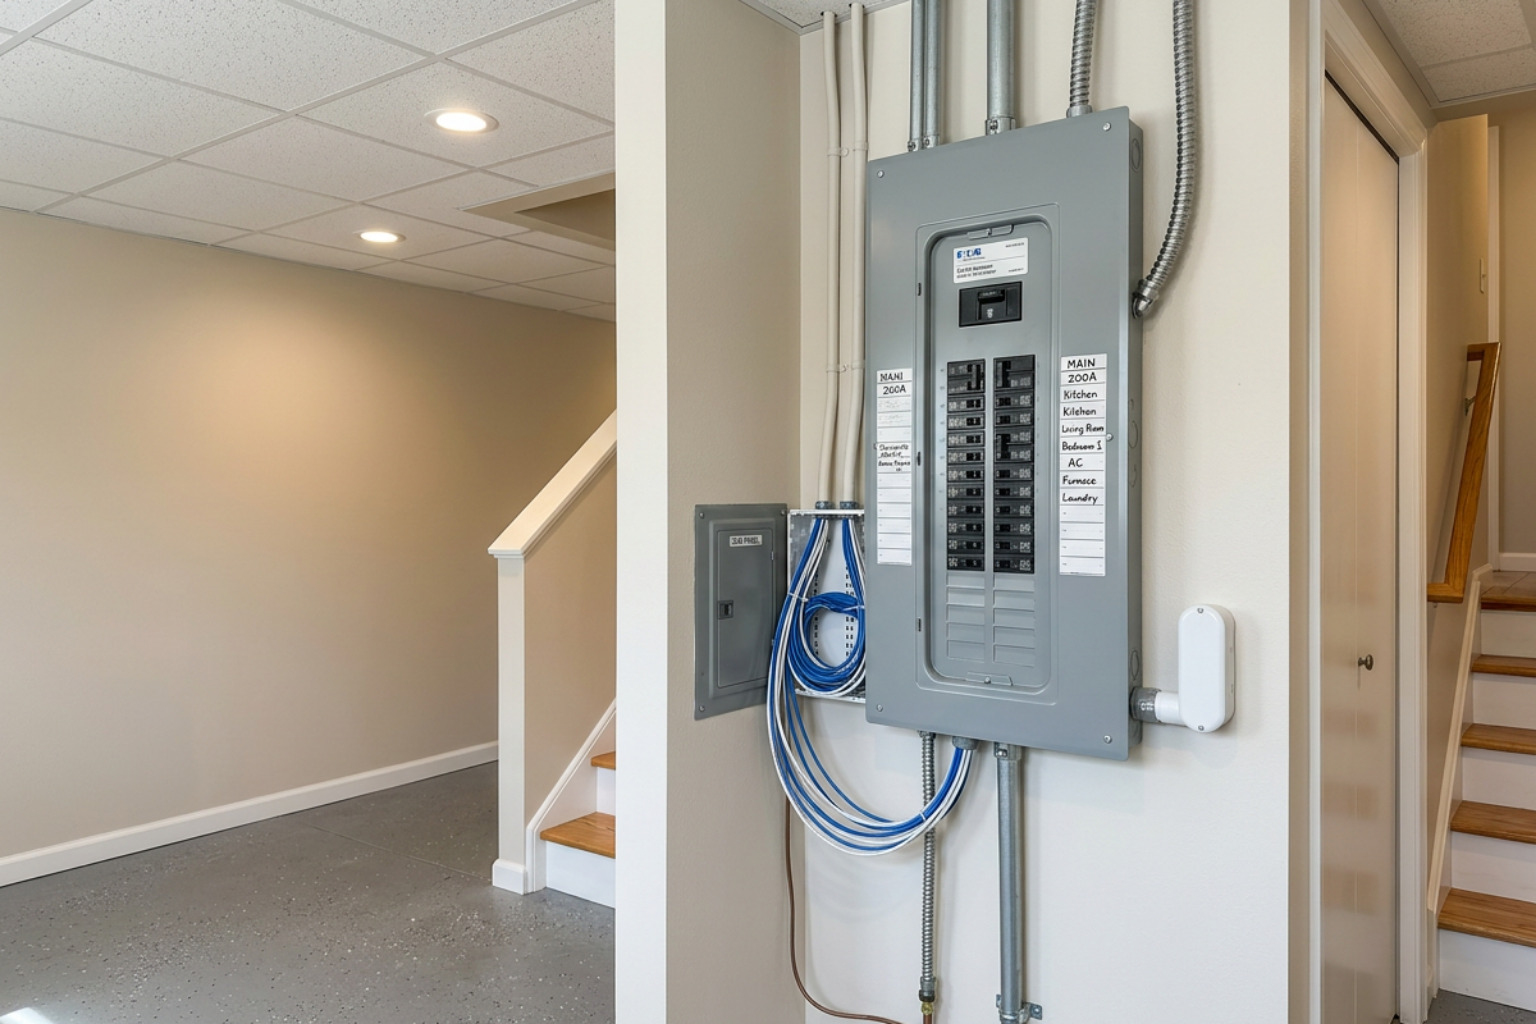
Does Your Electrical Panel Have Enough Power?
Your home’s electrical panel is the heart of its entire electrical system. Every appliance, every light, and every outlet draws power from it. When we’re planning a car charger home installation, we need to make sure that heart is strong enough to handle the extra demand.
Most homes in Denver, especially older ones, typically have either a 100-amp or a 200-amp electrical service.
-
100-amp panels can sometimes accommodate a Level 2 charger, but it often depends on your home’s overall electrical usage. If you’re running the AC, doing laundry, and cooking dinner all at once, adding an EV charger might push it over the limit. In these cases, we might look at options like a load management system, which can temporarily reduce the charger’s power when other appliances are in heavy use.
-
200-amp panels are generally better suited for Level 2 EV charging. They offer more capacity, making it easier to add a dedicated circuit for your charger without worrying about overloading the system. This also gives you more flexibility for future electrical upgrades.
Signs you might need a panel upgrade include frequent breaker trips, not enough open slots in your panel for a new circuit, or if your panel is simply very old and not designed for modern electrical demands. A panel upgrade involves increasing the total electrical capacity coming into your home, replacing your old panel with a new one that has more amperage and breaker space. It’s a significant job, but it ensures your home can safely power everything you need, including your new EV.
If you’re concerned about your panel, you can learn more about electrical repairs and upgrades.
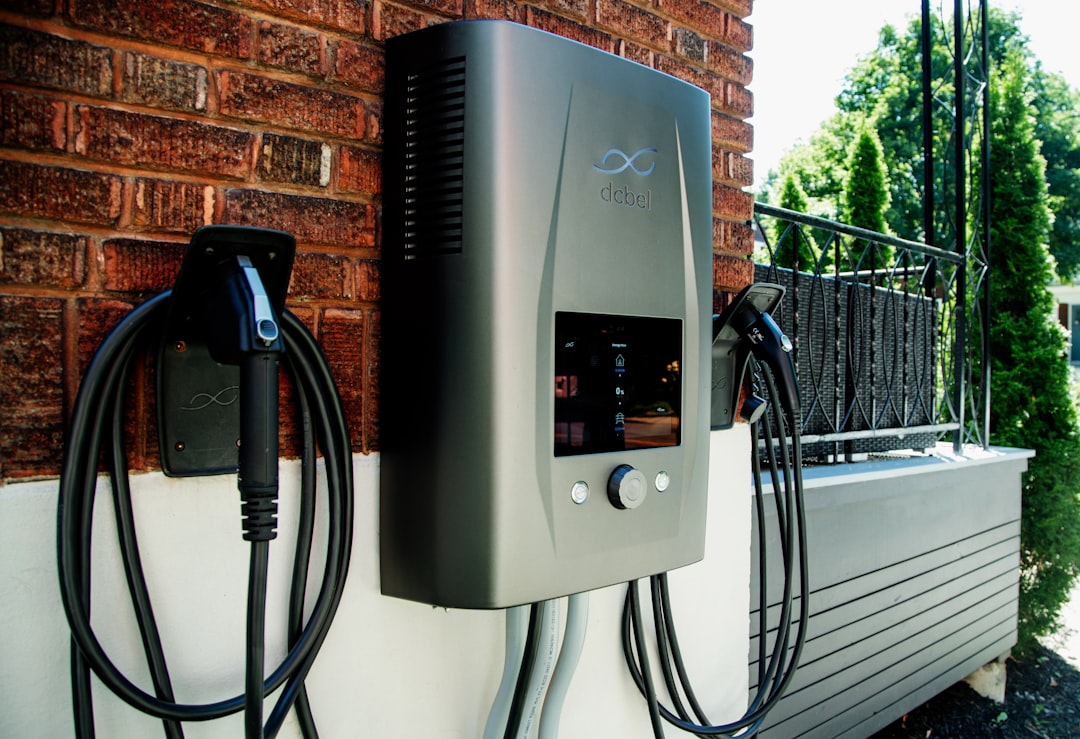
Picking the Right Charger for Your Home
Once we know your home’s electrical capacity, we can help you choose the right EV charger unit. There are a few key types to consider:
-
Plug-in Chargers: These chargers connect to a special 240-volt outlet, typically a NEMA 14-50. They’re convenient because they’re relatively easy to install (once the outlet is in place) and can be unplugged and moved if needed. Most plug-in chargers are limited to 40 amps due to outlet safety regulations.
-
Hardwired Chargers: These units are wired directly into your electrical panel, bypassing the need for an outlet. Many homeowners prefer hardwired installations for their cleaner, more permanent look. Hardwired chargers can handle higher power outputs (48 amps or more), which means faster charging for EVs that can accept it. They’re also often better suited for outdoor installations where an exposed outlet might be less desirable.
-
Smart Chargers: Many modern EV chargers come with “smart” features. These chargers connect to your home’s Wi-Fi and often come with a smartphone app. This allows you to monitor charging status, track energy use, schedule charging sessions during off-peak hours (when electricity is cheaper), and even integrate with other smart home devices. It’s a great way to optimize your charging and save on electricity bills.
The Car Charger Home Installation Process: What to Expect

A car charger home installation isn’t just about plugging in a device; it’s a significant electrical upgrade. That’s why it’s always a job for a licensed, insured electrician. This isn’t just a recommendation; it’s crucial for your family’s safety, ensuring compliance with local codes, and protecting your investment in both your home and your EV.
Here’s what a professional installation by a team like ours at Harmony Electric looks like.
Step 1: Finding the Best Spot for Your Charger
The first thing we do is a site survey. We’ll look at your garage or driveway and identify the most practical and efficient location for your charger. Ideally, we want the charger mounted close to your electrical panel to minimize the length and cost of wiring.
We also consider where your car’s charging port is located. Most EV charging cables are between 20 and 25 feet long, but we want to make sure the cable can comfortably reach your car without stretching or becoming a tripping hazard. If your parking space is outdoors, we’ll recommend a charger that’s rated for outdoor use, meaning it can withstand Denver’s varied weather, from summer storms to winter snow.
Step 2: Permits and Professional Assessment
Before any work begins, we handle the necessary permits. In Denver, as in most places, a permit is always required for an EV charger installation. These permits aren’t just paperwork; they’re about ensuring the work is inspected and meets strict safety standards. Without a permit, you could face issues with insurance, fines, or even be forced to remove the installation.
During our assessment, I’ll perform a thorough load calculation on your home’s electrical system. This helps us understand how much power your home is currently using and how much spare capacity is available. We’ll verify your main panel’s ampacity and determine the appropriate size for the new dedicated circuit your EV charger will need. We always follow the National Electrical Code (NEC 625) and local Denver codes to ensure everything is done safely and correctly.
Step 3: The Installation
Once the permits are in place and we’ve confirmed the plan, it’s time for the actual installation.
- Safety First: We start by turning off the power to your main electrical panel. Safety is our top priority when working with live electrical components.
- Circuit and Wiring: We install a new, dedicated two-pole circuit breaker in your electrical panel. Then, we run the appropriate gauge wire from the panel to the chosen charger location. For a clean and protected installation, especially in garages, this wiring is often run inside protective conduit.
- Mounting and Connections: We securely mount the EV charger unit to the wall. Then, we make all the final electrical connections within the charger unit, ensuring every wire is properly terminated and tightened according to manufacturer specifications and code.
- Testing and Labeling: After all connections are made, we restore power and thoroughly test the charger to ensure it’s functioning correctly and safely. We also clearly label the new circuit breaker in your electrical panel as “EV CHARGER” for easy identification.
For a straightforward car charger home installation in a garage, this process typically takes us a few hours on-site. However, if your home requires a panel upgrade, a subpanel, or if we need to run wiring over a long distance or through challenging spaces, the entire process, including estimation, permitting, and inspection, can take a few days.
Why DIY Isn’t the Way to Go
I get it—the appeal of a DIY project can be strong. But when it comes to high-voltage electrical work like a car charger home installation, doing it yourself can lead to serious problems.
- Risk of Fire and Damage: We’re talking about a 240-volt circuit that draws a continuous, high load for hours. Incorrect wiring or an improperly sized circuit can overheat, causing electrical fires, damaging your home, or even your expensive EV.
- Voided Warranties: Most EV charger manufacturers, and even EV manufacturers themselves, require professional installation for their warranties to remain valid. A DIY job could leave you without coverage if something goes wrong.
- Failed Inspections and Costly Do-Overs: The permitting and inspection process is there for a reason. If your DIY installation doesn’t pass inspection, you’ll have to hire a licensed electrician anyway to fix it, which often costs more than if you had hired them from the start.
Honestly, it’s not worth the risk. We believe in doing the job right the first time, and that means bringing in the pros.
Decoding the Dollars: Costs, Rebates, and Long-Term Value
When considering a car charger home installation, it’s natural to wonder about the cost. Think of it less as an expense and more as an investment—not just in your vehicle, but in your home and your daily routine.
What Does EV Charger Installation Usually Cost?
For most Denver homeowners, a typical Level 2 EV charger installation can range from $1,000 to $2,000 for all labor and materials. This figure can vary quite a bit depending on several factors:
- Distance from the Electrical Panel: The further the charger is from your main electrical panel, the more wiring and conduit are needed, which increases labor and material costs.
- Need for a Panel Upgrade: If your current electrical panel doesn’t have enough capacity or open breaker slots, a panel upgrade or the installation of a subpanel will add to the overall cost. This is often the biggest cost variable.
- Outdoor Installation: If the charger is installed outside, it requires weather-rated equipment and often more robust wiring protection, which can increase the price.
- The Charger Unit Itself: Level 2 chargers typically cost between $600 and $1,000, depending on their charging capacity and smart features.
Finding Savings: Rebates and Incentives
The good news is that there are often programs to help offset the cost of your car charger home installation.
- Federal Tax Credit (30C): Many homeowners are eligible for a federal tax credit that covers up to 30% of the installation costs, capped at $1,000. This can significantly reduce your out-of-pocket expense.
- Colorado and Xcel Energy Rebates: Here in Colorado, Xcel Energy often offers rebates for residential EV charging stations, sometimes up to $1,300. These programs can change, so it’s always a good idea to check what’s currently available.
We can help you steer these programs and ensure you have the proper documentation for any eligible incentives. Always check what’s available before you start your installation. You can search for local and federal incentives through the DOE Alternative Fuels Data Center.
The Long-Term Payoff
Beyond the immediate convenience, a car charger home installation offers several long-term benefits:
- Increases Home Value: Homes equipped with EV charging stations are becoming increasingly desirable. As more people switch to electric vehicles, an existing charger can significantly boost your property’s resale value and appeal to future buyers. It’s a way to future-proof your home.
- Better for Your Battery: Home charging, particularly Level 2, is generally gentler on your car’s battery than frequent use of public DC fast chargers. Steady, overnight charging can contribute to better long-term battery health.
- Cost Savings: While public charging stations are convenient on the go, charging at home almost always works out to be cheaper in the long run. You avoid public charging fees and can take advantage of lower electricity rates during off-peak hours.
It’s a smart investment that pays dividends in convenience, savings, and property value.
Frequently Asked Questions about Home EV Charging
I often get a lot of questions from homeowners in Denver about their car charger home installation. Here are some of the most common ones:
How long does a typical car charger home installation take?
For a straightforward installation—meaning your electrical panel has sufficient capacity, and the charger location is relatively close to the panel—the on-site work usually takes us a few hours (typically 2-4 hours).
However, if your home requires a main electrical panel upgrade, or if the wiring needs to run a long distance or through complex pathways, the entire process, including planning, estimation, permitting, and final inspections, can take anywhere from one to three days. That securing permits and scheduling inspections also adds a few days to the overall timeline, but we handle all of that for you.
Can I install an EV charger in an apartment or condo?
Installing an EV charger in a multi-unit residential building (MURB) like an apartment or condo is definitely possible, but it’s often more complicated than in a single-family home. You’ll need to work closely with your property manager, condo board, or Homeowners Association (HOA) to get approval.
There are more decision-makers involved, and we need to consider the building’s overall electrical capacity. Sometimes, load management systems are required to ensure that adding chargers doesn’t overload the building’s existing electrical infrastructure. We have experience in navigating these complexities and can collaborate with property management to design efficient solutions.
For a comprehensive approach to EV charging in shared living spaces, the Guide to Electric Vehicle Charging in Multi-Unit Residential Buildings (PDF) is a great resource. Always plan with a professional electrician who understands MURB installations.
What are the most important safety considerations?
Safety is paramount in any electrical work, especially with high-power applications like EV charging. Here are the critical safety considerations:
- Always Use a Licensed, Insured Electrician: This is non-negotiable. Licensed electricians are trained, follow strict codes, and carry insurance to protect both themselves and your property. Working with live panels is dangerous and should only be done by a professional.
- Get a Permit for the Work: A permit ensures that the installation is inspected by local authorities and meets all safety and building codes in Denver. This protects you from potential hazards and ensures your homeowner’s insurance will cover any issues.
- Use a Dedicated Circuit: Your EV charger must have its own dedicated circuit from your electrical panel. This prevents overloading existing circuits, which can lead to tripped breakers, overheating, or even fires.
- GFCI Protection: Depending on your local codes and the type of charger, Ground-Fault Circuit Interrupter (GFCI) protection may be required. This is an important safety feature that quickly shuts off power if it detects an electrical fault, preventing shocks.
- UL-Listed Equipment: Always ensure that the EV charger unit itself is UL-listed (or has another recognized safety certification). This means it has been tested and meets stringent safety standards.
Let’s Get Your Home Ready for Your EV
So, there you have it. A car charger home installation is one of the best ways to enjoy your electric vehicle to the fullest. It brings unparalleled convenience, is generally more cost-effective than public charging, and adds real value to your home.
But as you can see, it’s not a simple plug-and-play situation. It involves understanding your electrical system, adhering to strict safety codes, and choosing the right equipment. That’s why a professional, code-compliant installation is so important—it means you can charge with confidence, knowing everything is done safely and correctly.
At Harmony Electric, we handle the entire process. From the initial assessment and load calculation to pulling permits, performing the installation, and coordinating the final inspection, we make sure your home EV charger setup is seamless and stress-free.
If you’re in Denver, Castle Pines, Castle Rock, Centennial, Highlands Ranch, Parker, or Lone Tree, I’d be glad to help you get set up the right way.
Schedule your EV charger installation in the Denver area with Harmony Electric today, and let’s get you plugged in and powered up!