Why Installing Outdoor Light on Brick Wall Is Easier Than You Think
Installing outdoor light on brick wall surfaces is something a lot of Denver homeowners put off — and honestly, I get it. Brick looks tough. Drilling into it feels risky. And the wiring part? That’s where most people stop and walk away.
But here’s the thing: with the right tools and a clear plan, this is a very doable project. And the payoff is real — better curb appeal, improved security, and a patio or entryway that actually looks finished after dark.
Here’s a quick overview of how it works:
- Plan your layout — decide where lights go and how you’ll run power to them
- Choose your method — drilling with masonry anchors, or no-drill options like brick clips
- Prep the wall — check for cracks, loose mortar, and power access nearby
- Drill and anchor — use a hammer drill with a carbide masonry bit (3/16″ or 1/4″)
- Mount a pancake box — a shallow 1/2″ electrical box that sits flush on the brick surface
- Wire the fixture — connect black to black, white to white, ground to ground
- Seal and test — apply silicone caulk around edges, restore power, and check the light
No drill? No problem. Brick clips, heavy-duty adhesive hooks, and products like DécoBrick hangers can hold up to 15 lbs — plenty for string lights or seasonal decor.
What I usually see in Denver homes is that the actual installation isn’t the hard part. The hard part is not knowing where to start. That’s what this guide fixes.
Whether you’re hanging string lights across a patio, mounting a wall sconce by the front door, or adding security lighting over the garage — this walks you through all of it. Both the DIY path and the “call a pro” path.
Planning Your Layout and Choosing the Right Fixtures
Before you pick up a drill, you need a game plan. In my experience helping folks around the Denver Metro Area, the most successful projects start with a simple sketch. You aren’t just looking for brightness; you’re looking to create an atmosphere.
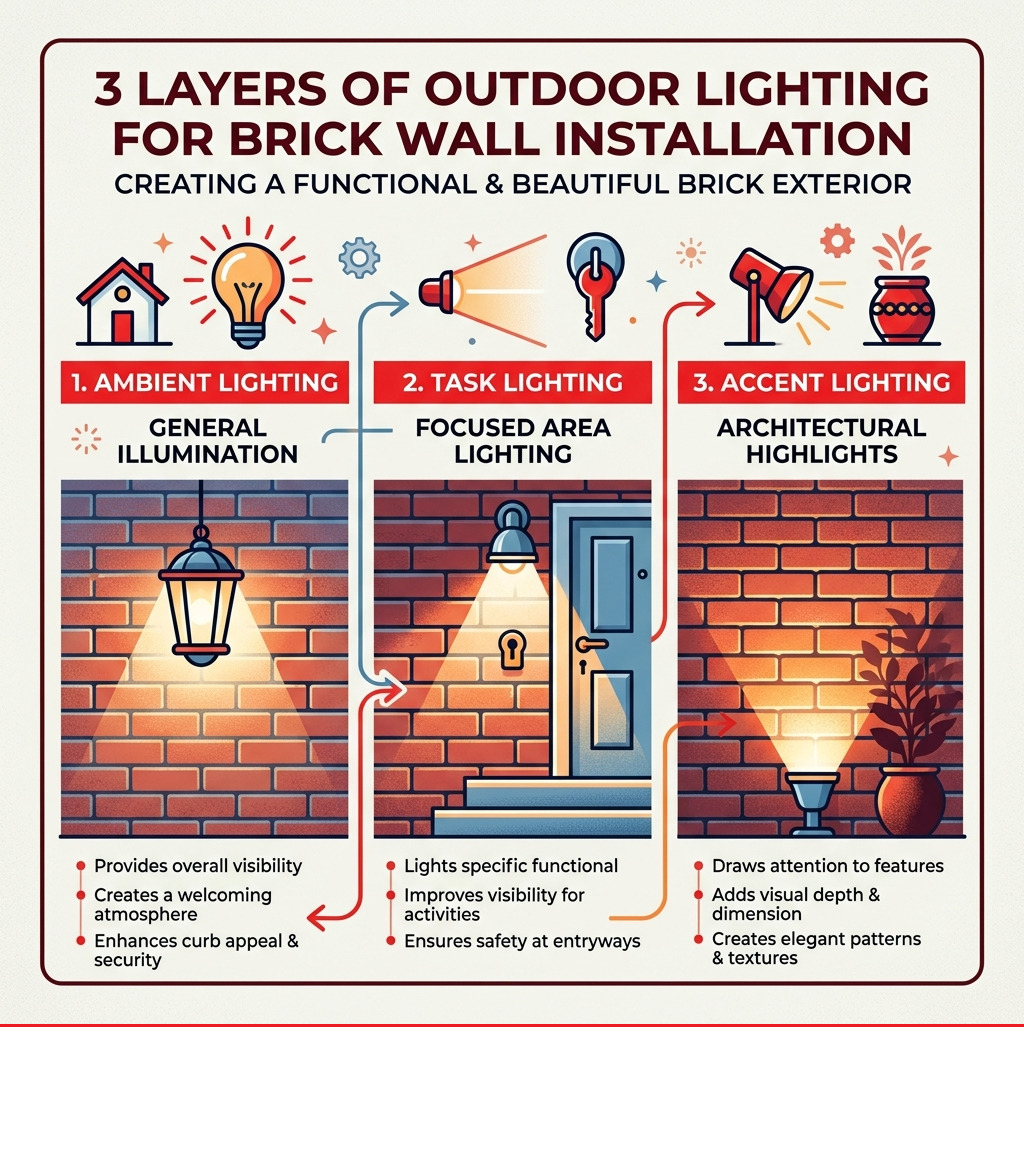
Think about the “layers” of lighting. Ambient lighting provides general illumination so you don’t trip on the porch. Task lighting helps you see the grill or the keyhole in your door. Accent lighting highlights that beautiful brick texture or a specific architectural feature of your home.
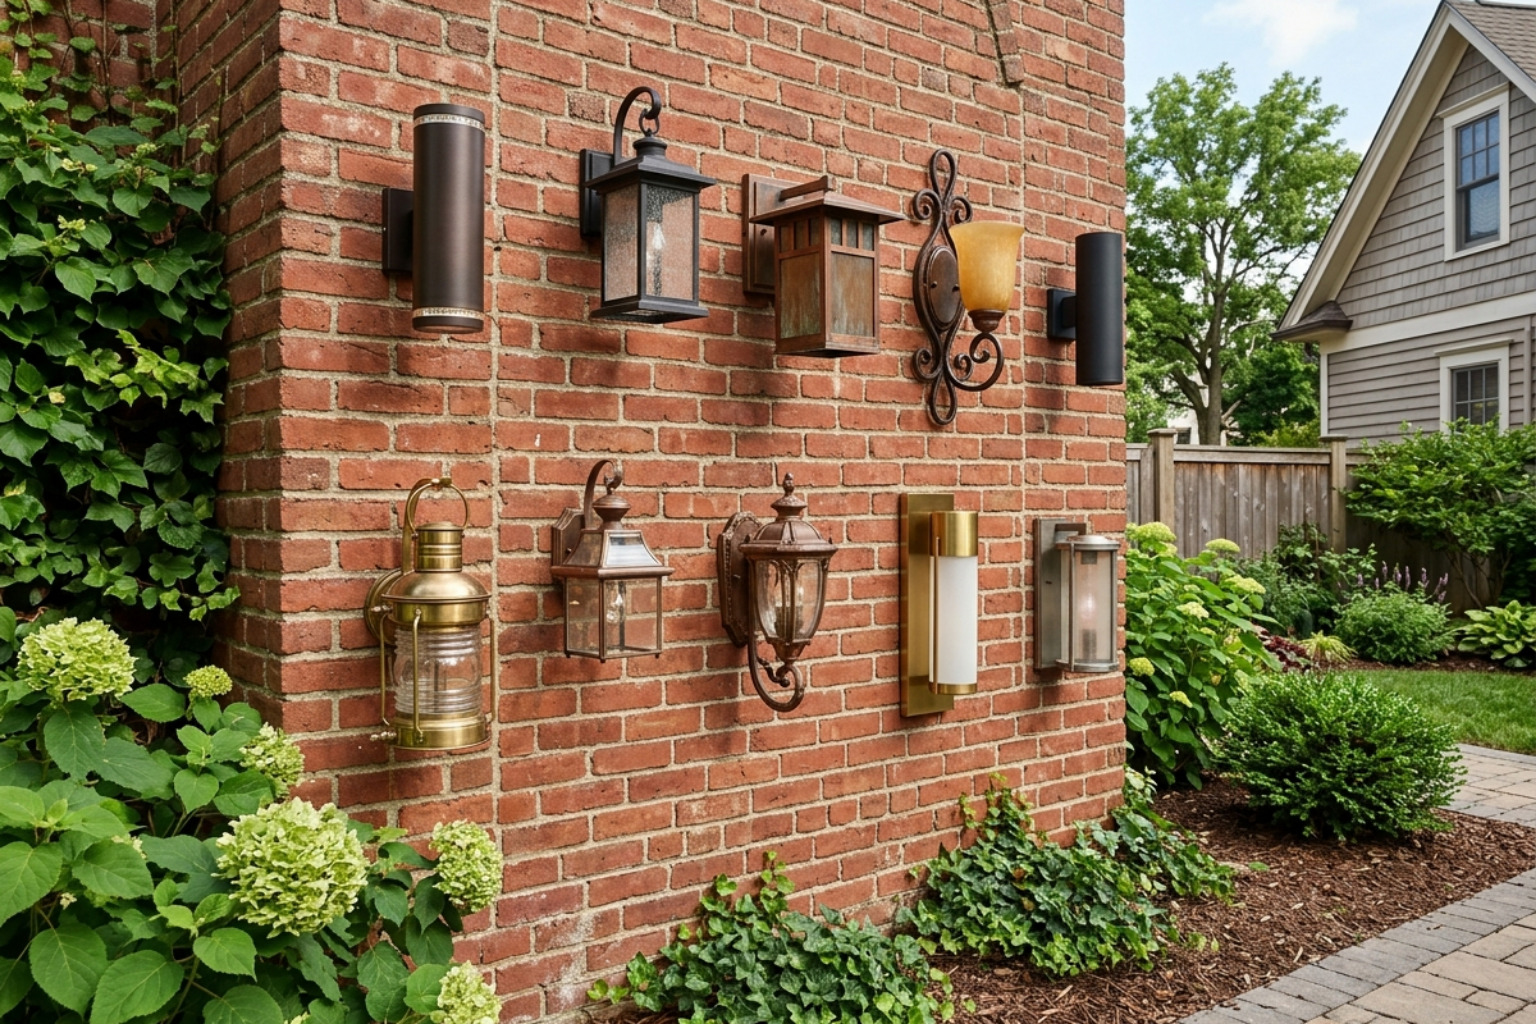
Best types of lights for brick walls
Not every light is a good fit for a brick surface. Here’s what we usually recommend:
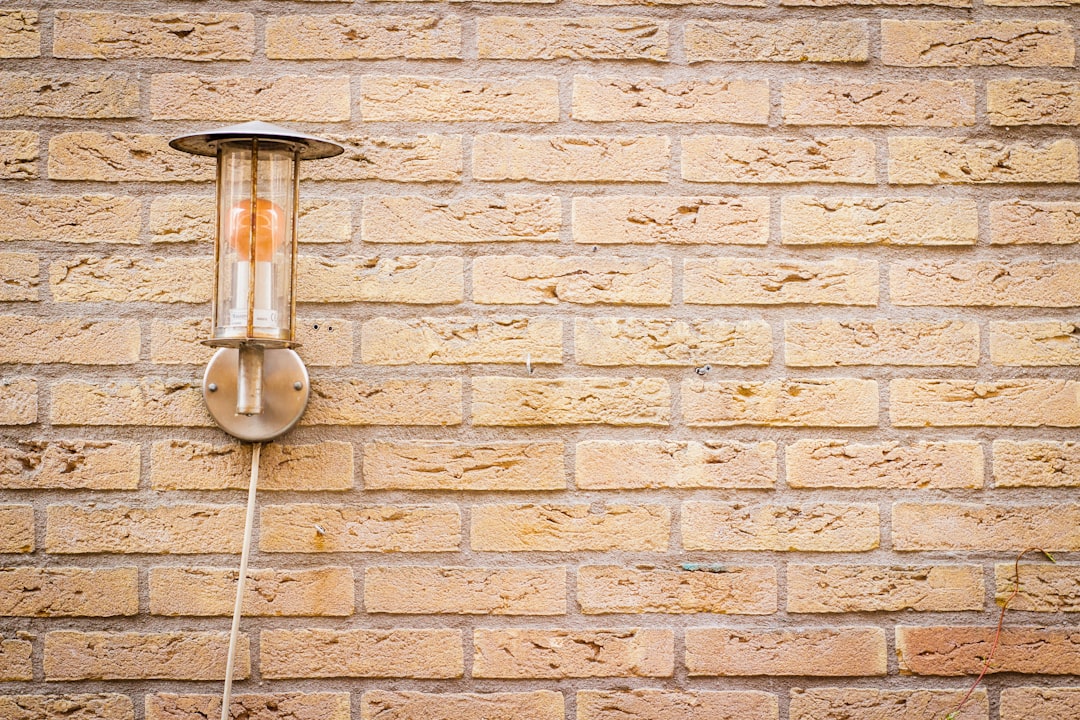
- Sconces: These are the classic choice for entryways. They look great against the red or tan brick common in Highlands Ranch and Castle Pines.
- String Lights: Perfect for patios. They provide a “vintage cafe” vibe and are often the easiest to install using no-drill methods.
- Floodlights: If safety is your priority, motion-sensor floodlights over a garage door are hard to beat.
- Solar Pucks: These are great for accenting steps or low walls where running wires would be too much of a headache.
When choosing your fixtures, pay attention to the Kelvin (K) temperature. For a warm, inviting look on brick, stay between 2700K and 3000K. If you’re lighting a driveway for safety, you might want something cooler, around 4000K to 5000K. Also, check the fixture weight. Most standard brick anchors handle several pounds, but heavy cast-iron lanterns might need extra support. The density of your brick matters just as much as the light itself.
For business owners in Denver, we often handle commercial lighting installation where we use high-efficiency LEDs that can withstand our Colorado winters while keeping utility costs low.
Mapping out your installing outdoor light on brick wall project
Once you have your lights, it’s time to mark the wall. I always suggest using painter’s tape or chalk rather than a permanent marker.
If you’re hanging string lights, keep your hanging points between 18 to 24 inches apart. This spacing keeps the lines from sagging too much and balances the tension so your clips don’t pop off in a stiff Colorado wind.
Check your power access early. Is there a GFCI (Ground Fault Circuit Interrupter) outlet nearby? These are those outlets with the “test” and “reset” buttons. They are required by code for outdoor use because they shut off power instantly if they get wet, preventing shocks.
The Step-by-Step Guide to Installing Outdoor Light on Brick Wall
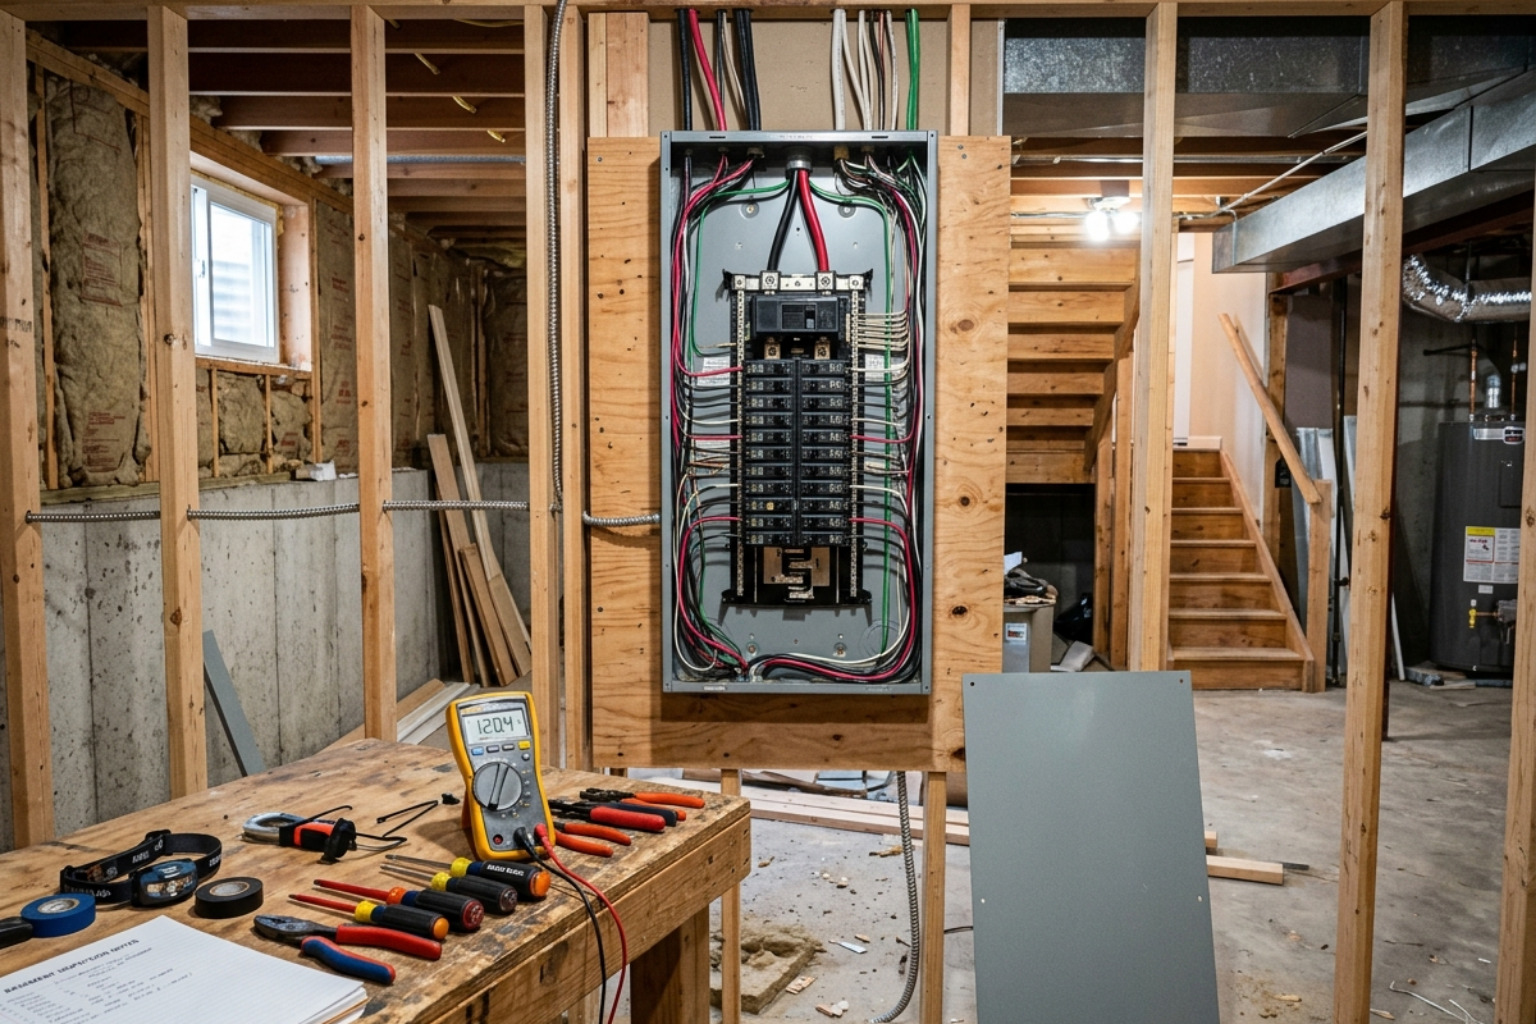
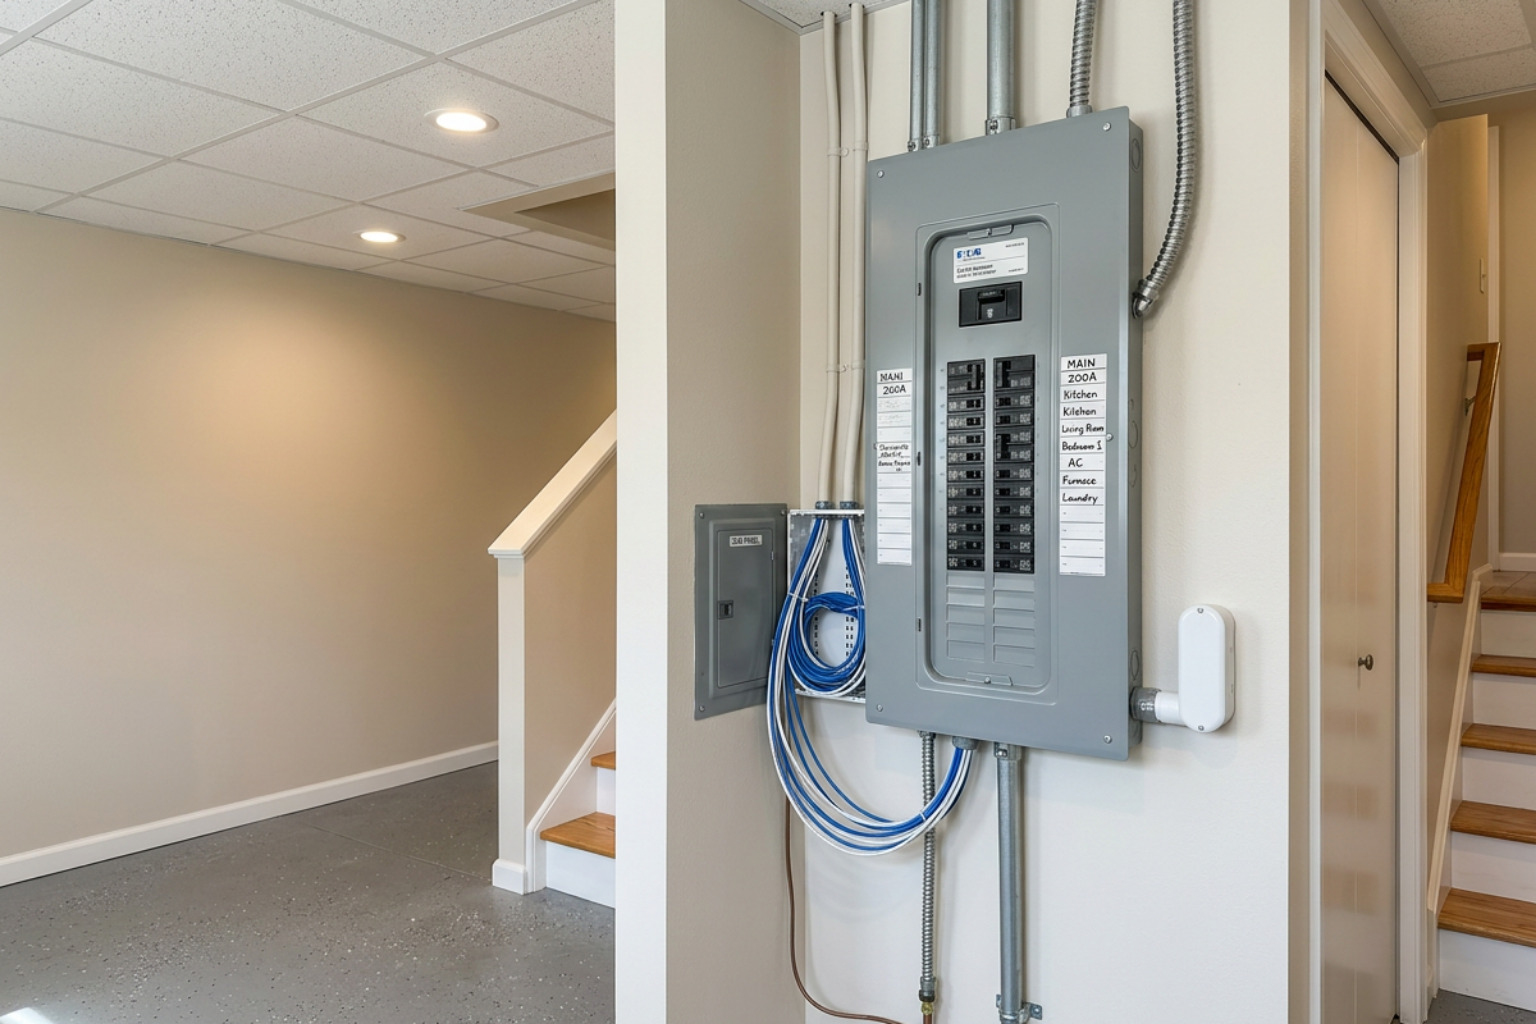
Ready to get to work? Safety first: turn off the power at the breaker panel before you touch any wires. Use a non-contact voltage tester to double-check that the wires are actually dead. I’ve seen plenty of “labeled” panels in older Denver homes that were completely wrong!
Drilling and anchoring into masonry
To get a clean hole in brick, you need a hammer drill. A regular drill will just spin and get hot without making much progress. You’ll also need a carbide-tipped masonry bit, usually in a 3/16″ or 1/4″ size to match your anchors.
- Mark your spot: Avoid drilling into mortar joints if you can. While mortar is easier to drill, it’s much weaker than the brick itself. Anchors hold better in the solid brick.
- Drill steady: Keep the drill level. Don’t push too hard; let the hammer action do the work.
- Clean the hole: This is a step people skip, but it’s vital. Use a small brush or a puff of air to get the brick dust out. If the dust stays in, the anchor won’t grip the sides of the hole properly.
- Set the anchor: Tap your plastic or lead anchor in until it’s flush with the brick surface.
| Feature | Masonry Anchors (Plastic/Lead) | Concrete Screws (Tapcons) |
|---|---|---|
| Ease of Use | High – very forgiving | Medium – requires exact hole size |
| Grip Strength | Good for light/medium fixtures | Excellent for heavy fixtures |
| Removability | Hard to remove cleanly | Easy to unscrew |
Wiring and mounting the fixture
One trick we use to avoid chiseling out a giant hole in your brick is using a pancake box. These are round electrical boxes that are only 1/2 inch deep. They sit right on the surface of the brick, and most light fixture bases (canopies) are deep enough to hide them completely.
- Mount the box: Secure the pancake box to the brick using masonry screws through the anchors you just set.
- Run the wires: If you’re pulling wires through the wall, make sure they aren’t pinched.
- Connect the wires: Strip about 3/4″ of insulation. Connect black to black (hot), white to white (neutral), and your green or bare copper wire to the ground screw in the box or the fixture’s ground wire.
- Seal it up: Twist on your wire nuts and wrap them with a bit of electrical tape for extra moisture protection.
- Seal the edges: Use a bead of clear silicone caulk around the top and sides of the fixture where it meets the brick. Leave a small gap at the very bottom so any moisture that gets in has a way to drain out.
No-Drill Alternatives for Renters and Seasonal Decor
If you’re renting a place in Parker or Lone Tree, or you just don’t want to commit to permanent holes, you have options.
Brick clips are a lifesaver. They work by gripping the top and bottom edges of a brick. For these to work, your bricks need to protrude at least 1/8 inch from the mortar. Most standard North American bricks are about 2 1/4″ tall, and clips like DécoBrick are designed to stretch and fit that size perfectly.
For lighter items like string lights, heavy-duty outdoor adhesive hooks or even hot glue can work. Believe it or not, professional holiday light installers often use hot glue because it holds well on rough brick and pops off cleanly at the end of the season. Just remember that these methods usually top out at a 15 lb capacity, so don’t try to hang a heavy security floodlight this way!
Overcoming Common Brick Installation Challenges
Brick isn’t always a perfect, flat surface. In older parts of Denver, you might run into “clinker” bricks or uneven textures that make mounting a fixture flush nearly impossible.
- Uneven Textures: If the wall is really bumpy, you can use a mounting block (sometimes made of weather-resistant PVC like Azek) to create a flat surface for the light.
- Mortar Weakness: If your mortar is crumbly, stay far away from it. Drill into the center of the brick instead.
- Cable Management: If you’re running wires on the outside of the brick, use conduit. You can paint the conduit to match your brick so it disappears.
- Weather Exposure: Colorado sun is brutal on plastics, and our freeze-thaw cycles can crack cheap sealants. Always use “exterior-grade” materials and UV-rated wiring.
If you’re managing a larger property, you might want to look into lighting upgrades for commercial properties to see how professional-grade cable management works on a larger scale.
Frequently Asked Questions about Installing Outdoor Light on Brick Wall
Can I attach lights to brick without drilling?
Yes! As mentioned, brick clips are the best non-permanent solution. They can hold up to 15 lbs and don’t leave any marks. Adhesive hooks and hot glue are also great for temporary holiday displays.
Is it better to drill into the brick or the mortar?
I always recommend drilling into the solid brick. Mortar is much softer and can crumble over time, especially with the weight of a fixture pulling on it. A masonry anchor in solid brick is much more secure.
How do I keep water out of the electrical box?
Silicone caulk is your best friend here. Run a bead around the top and sides of the fixture where it touches the brick. Most fixtures also come with a rubber foam gasket — use it! Just remember to leave that tiny gap at the bottom for drainage.
Conclusion
Installing outdoor light on brick wall surfaces doesn’t have to be a headache. Whether you’re going the DIY route with some brick clips or breaking out the hammer drill for a permanent upgrade, the key is taking your time and respecting the material.
If you get halfway through and realize the wiring is more complex than you thought — or if you just want the peace of mind that comes with a professional touch — give us a call at Harmony Electric. I’m Randy Harmuth, and I’ve spent years making sure Denver homes are wired safely and correctly. We offer a lifetime workmanship guarantee on our installations because we believe in doing the job right the first time.
Ready to brighten up your home? Contact us for commercial or residential lighting services today, and let’s get your project off the ground!