How to Run Electrical Wire Through Finished Walls
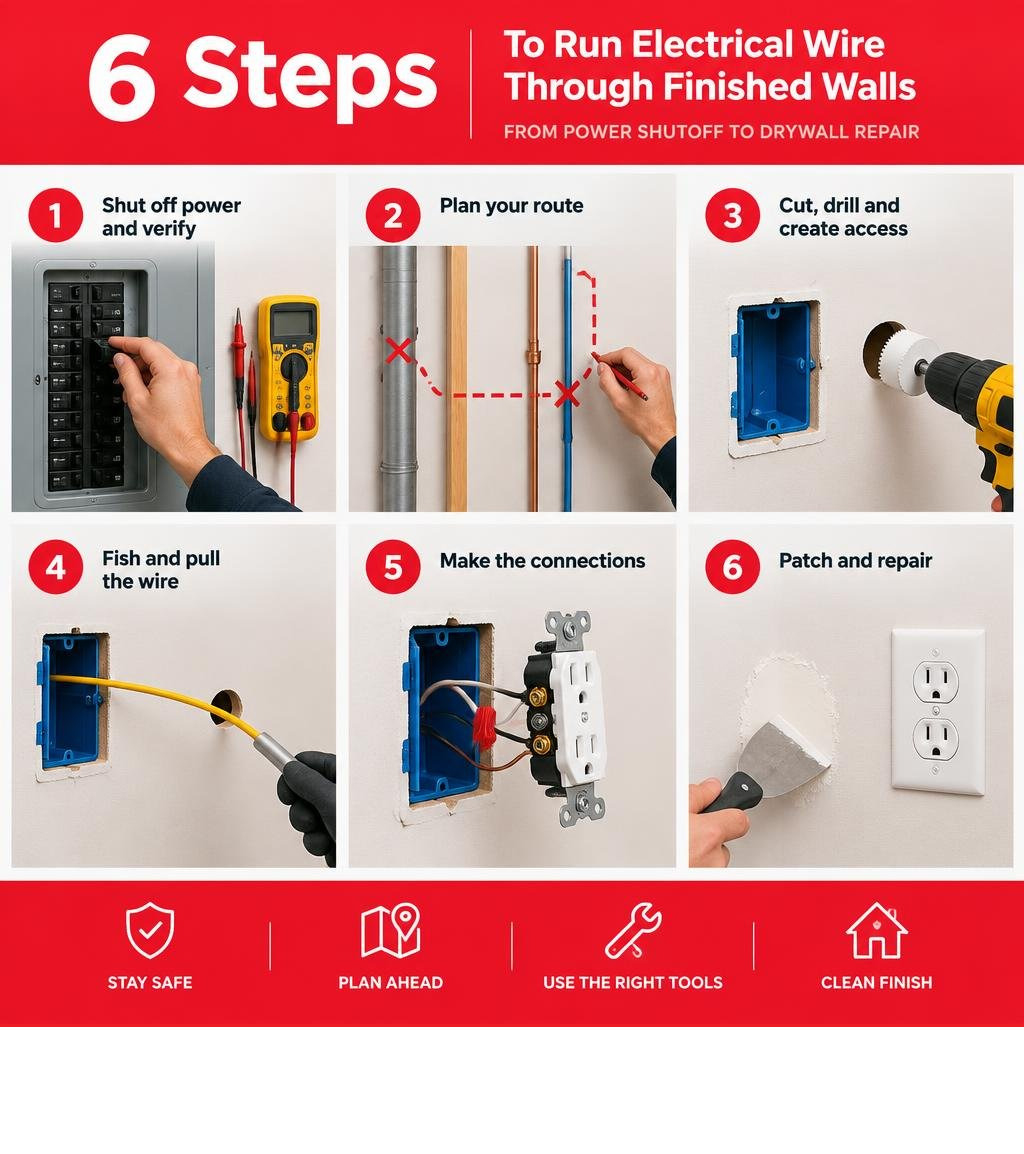
To run electrical wire through a finished wall, turn off the circuit and verify the power is off. Map a path clear of studs, pipes, and ducts. Cut an opening for an electrical box, drill through framing where needed, then use fish tape or a flexible rod to pull the right cable through. Protect the cable, complete the connections, and patch any access holes.
Check local permit rules before you start. If you can’t tell what’s behind the wall or aren’t comfortable making the electrical connections, stop and call an electrician.
I’m Randy Harmuth, master electrician and owner of Harmony Electric, and I’ll show you how to plan a clean route before you make a cut.
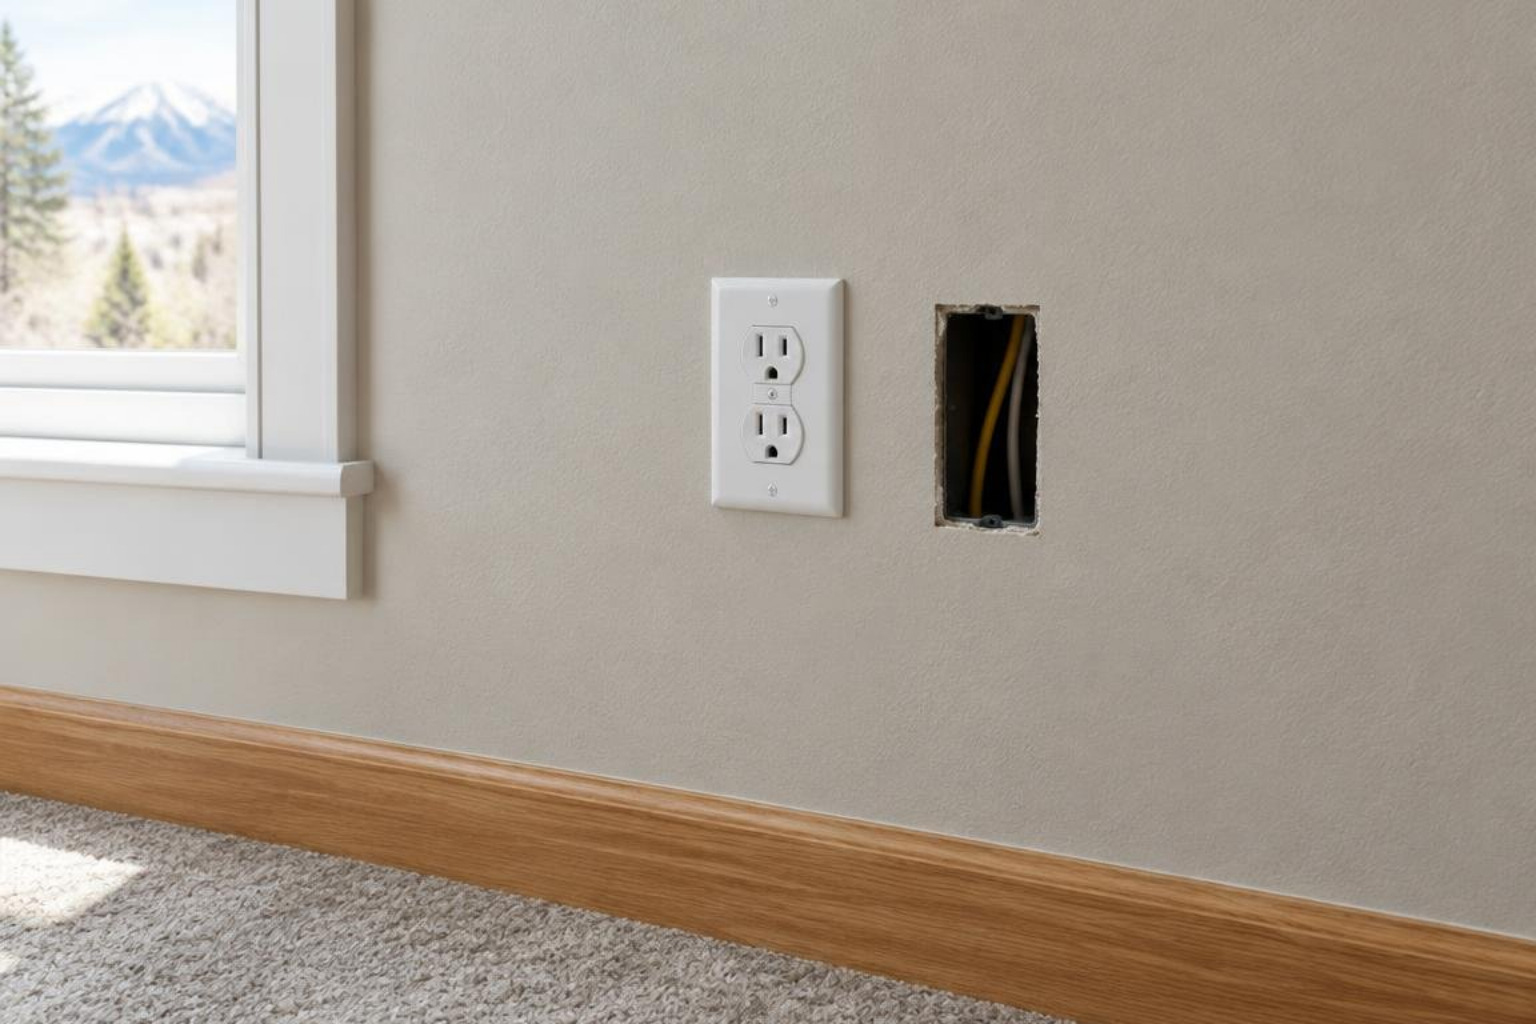
While new construction wiring gives you open studs to work with, retrofitting finished walls is straightforward when you follow safe residential wiring practices.
Essential Tools and Safety Precautions Before You Begin
Working inside existing walls requires careful preparation. Before picking up a saw or drill, cut power to the entire work area at the main breaker panel. Never rely on a wall switch to shut off electricity. Use a reliable, non-contact voltage tester to double-check every nearby outlet, switch, and wire before touching anything.
Put on sturdy work gloves, safety glasses, and a dust mask. When cutting drywall or drilling into older framing, plaster dust and insulation fibers can irritate your eyes and lungs. A multi-scanner that detects wood studs, metal pipes, and live AC wiring helps prevent accidental contact with hidden utilities. Following proven safety practices for basic residential electrical projects ensures the work area stays secure from start to finish.
Essential Preparation and How to Run Electrical Wire Through Finished Walls Safely
What I usually see in Denver homes is that taking ten minutes to map the layout saves hours of drywall patching later. Use a stud finder to identify the framing bays. Standard wall studs sit 16 inches apart on center, creating vertical channels that make natural pathways for wiring.
Plan your box locations before making any cuts. Standard living areas generally place wall outlets 12 to 18 inches above the finished floor, while light switches sit around 48 inches high to match standard door handle heights.
Matching your wire size to the circuit breaker amperage is critical for fire safety. Using wire that is too thin for the breaker rating creates a serious fire hazard.
| Circuit Amperage | Wire Gauge (AWG) | Common Residential Uses | Cable Sheath Color |
|---|---|---|---|
| 15 Amps | 14 AWG | General lighting circuits, standard bedroom outlets | White |
| 20 Amps | 12 AWG | Kitchen countertops, bathrooms, outdoor outlets, laundry | Yellow |
| 30 Amps | 10 AWG | Electric water heaters, dedicated dryer circuits | Orange |
Choosing the Right Tools and Wire Types
For dry, interior residential walls, standard non-metallic sheathed cable (commonly referred to as Romex or Type NM-B) is standard. Ensure your new circuit matches the existing load requirements: 14-gauge wire for 15-amp breakers and 12-gauge wire for 20-amp breakers.
You will also need “old-work” (or remodel) electrical boxes. Unlike new-construction boxes that nail directly to open studs, old-work boxes feature flip-out plastic or metal wings that clamp tight against the back face of the existing drywall.
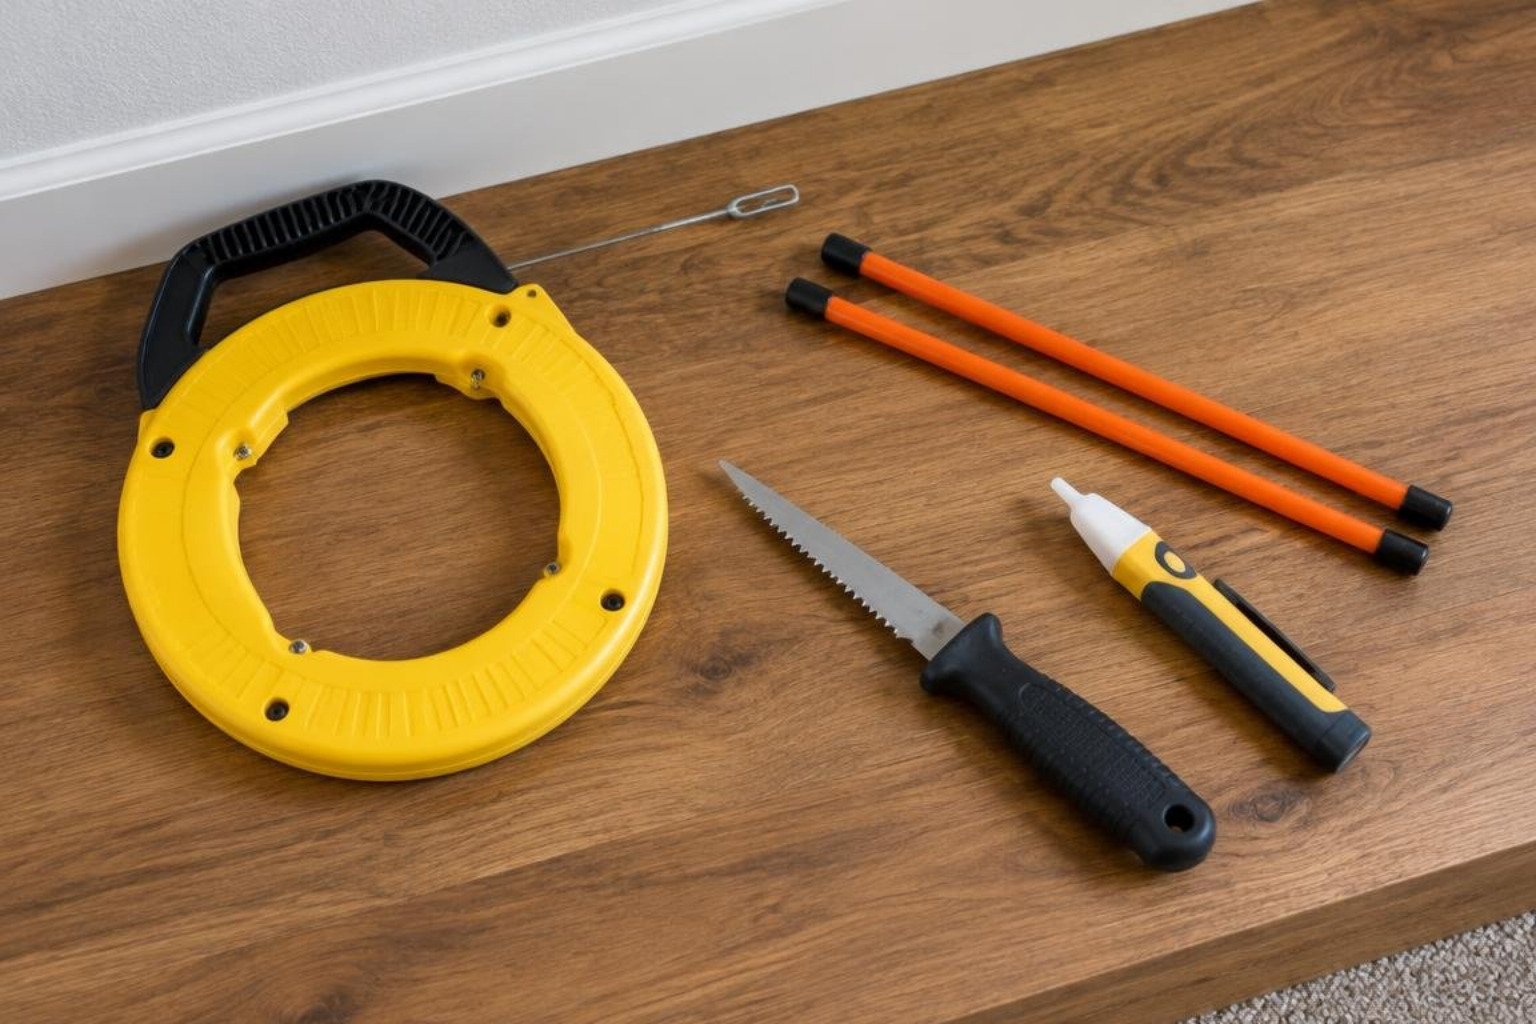
For pulling wire, a standard steel fish tape (available in 50-foot or 100-foot reels) works well for long, empty vertical runs. Fiberglass glow rods, which connect in sections reaching 30 feet or more, provide better rigidity when pushing past insulation or navigating narrow cavities. The National Electrical Manufacturers Association (NEMA) publishes installation guidelines for non-metallic sheathed cable that cover proper handling and support requirements for residential wiring.
How to Run Electrical Wire Through Finished Walls Without Damaging Drywall
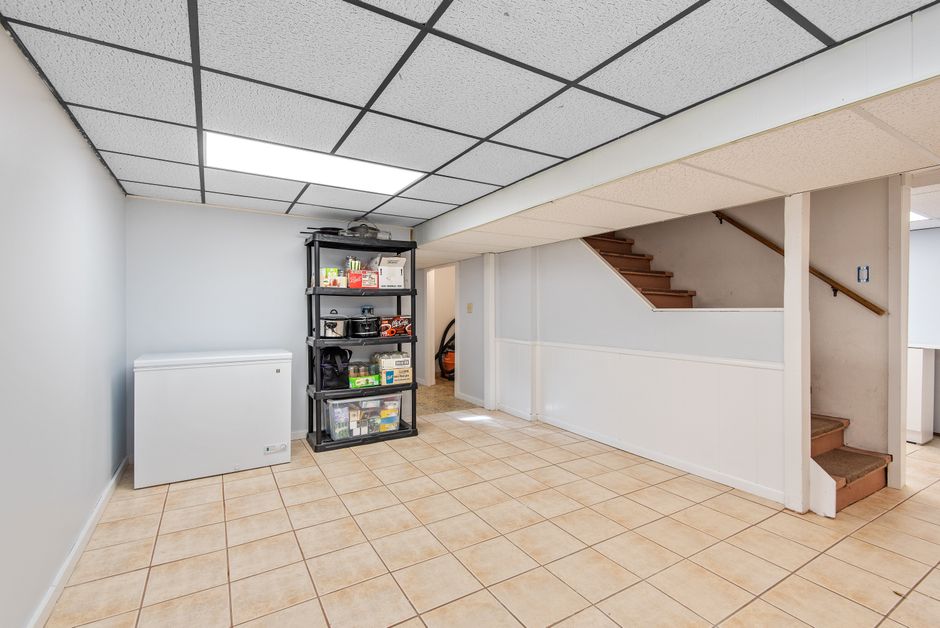
The secret to running wire without tearing up your home is choosing access points wisely. Whenever possible, run cables vertically through open floor cavities, unfinished basements, or accessible attics rather than cutting horizontal channels across multiple drywall bays.
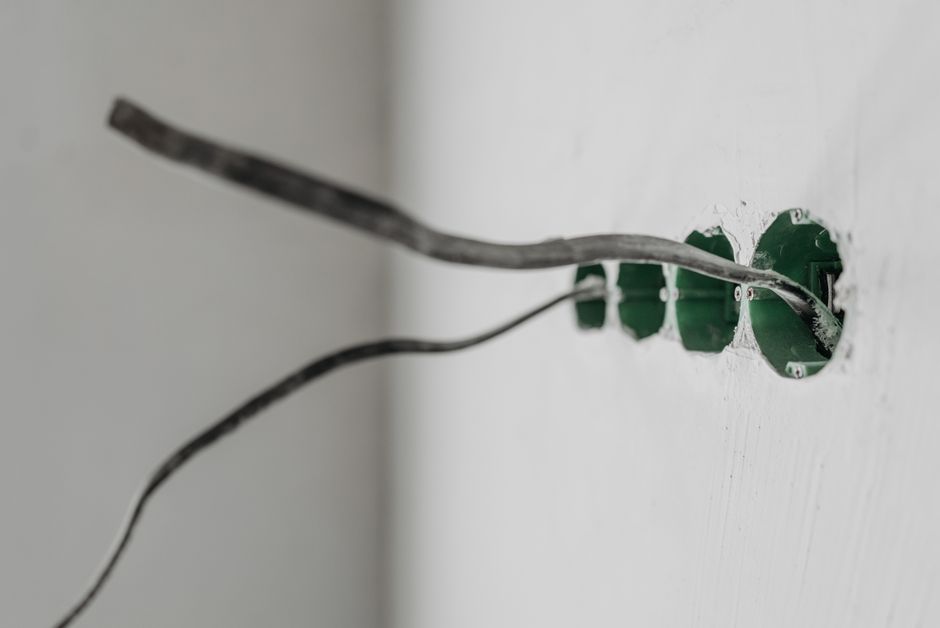
Always leave an 8- to 12-inch service loop of excess wire inside the electrical box. This extra slack gives you plenty of room to strip conductors, make secure connections, and easily service the device in the future.

Step 1: Cutting Openings and Drilling Framing Plates
Trace the outline of your old-work remodel box directly onto the drywall with a pencil. Double-check that your lines sit completely between two studs rather than over the wood.
- Pierce the center of the traced rectangle using a manual drywall jab saw or keyhole saw.
- Cut outward along the lines, keeping the blade angled slightly inward to preserve a snug fit for the box ears.
- Save the cut drywall piece in case you need to patch an accidental opening later.
- Drill through the wall’s top or bottom framing plate from the attic, basement, or crawlspace using a 3/4-inch spade or auger bit.
- Center your hole directly in the middle of the 2×4 framing plate. Building codes require drilled holes to sit at least 1-1/4 inches away from either edge of the wood framing to prevent future drywall screws or trim nails from piercing the live cable.
When coordinating new runs during a renovation, following guidelines for proper residential remodeling wire installation helps keep framing cuts clean and fully code-compliant.
Step 2: Fishing the Wire and Pulling Cable
Once your access holes and framing plates are drilled, you can route the line through the wall cavity.
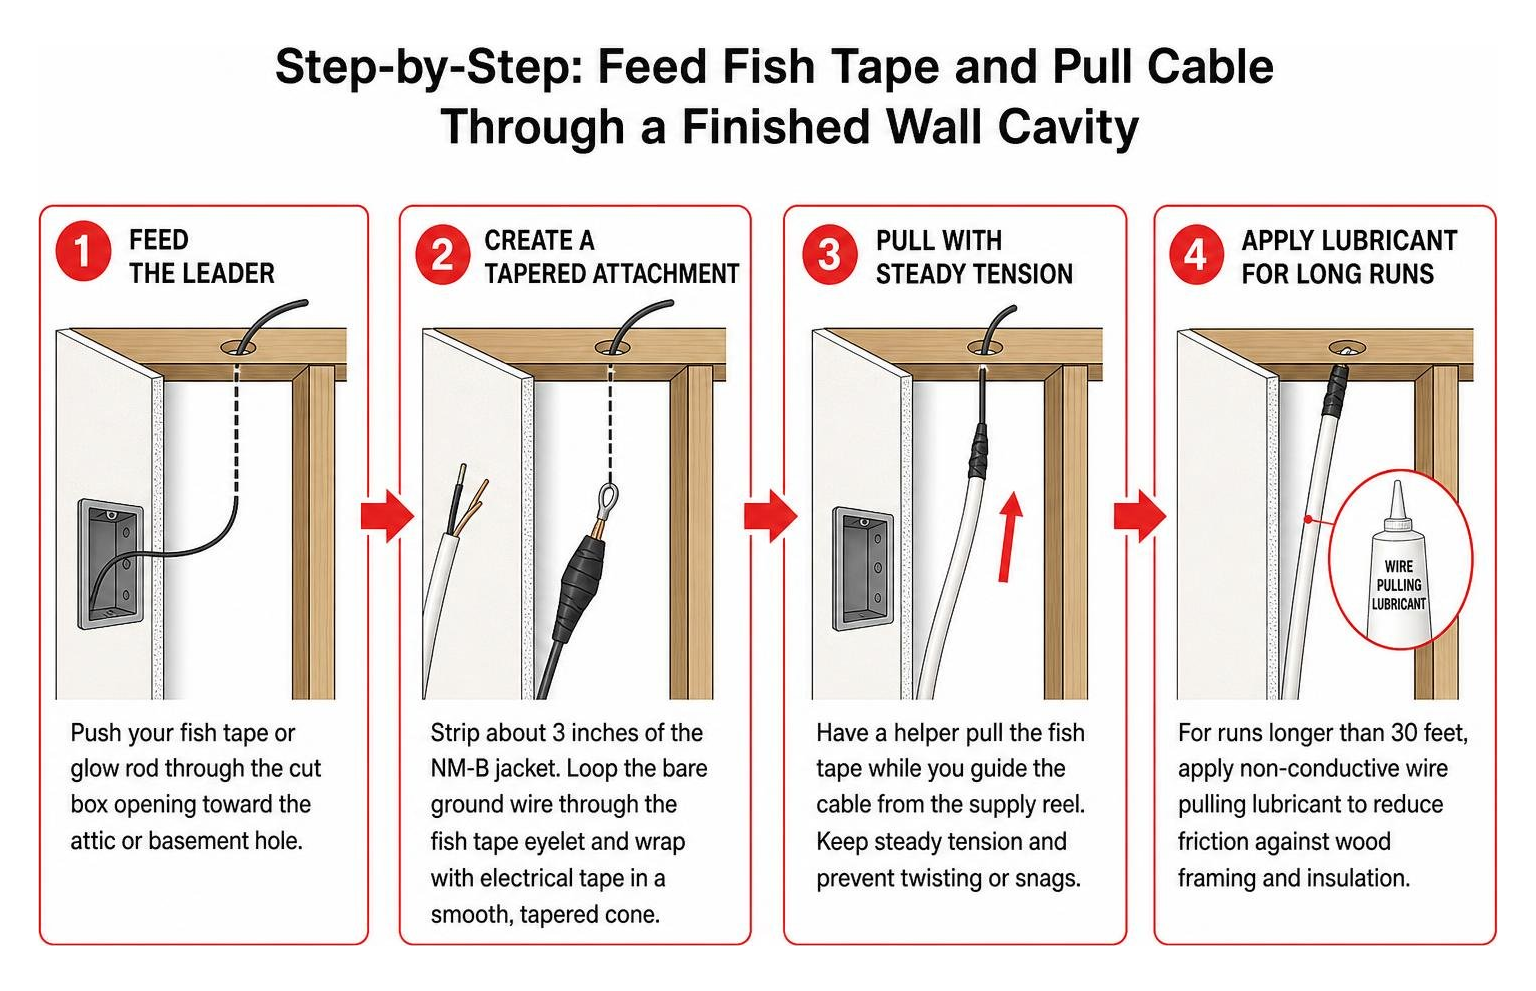
- Feed the Leader: Push your fiberglass glow rod or fish tape through the cut box opening toward the attic or basement access hole.
- Create a Tapered Attachment: Strip back about 3 inches of the outer NM-B jacket, thread the bare copper ground wire through the fish tape eyelet, and loop it back. Wrap electrical tape smoothly over the connection in a tight, tapered cone so it glides past framing edges without snagging.
- Pull With Steady Tension: Have a helper gently pull the fish tape while you guide the cable from the supply reel, ensuring the plastic sheathing does not twist or scrape against sharp framing edges.
- Apply Lubricant for Long Runs: On pulls longer than 30 feet, apply non-conductive wire pulling lubricant to reduce friction against wood framing and insulation.
Mastering a smooth technique for fishing electrical wire through walls keeps the protective sheath intact and eliminates strain on your connections.
Overcoming Hidden Obstacles Behind Finished Drywall
In a lot of older houses around here, walls rarely offer an unobstructed vertical drop. Plumbing vents, heating ducts, and structural bracing frequently share the cavity. An inexpensive borescope inspection camera inserted through the box cutout lets you look directly inside the wall before you push a rod or drill blindly.
Advanced Obstacles: How to Run Electrical Wire Through Finished Walls with Insulation or Fireblocks
Exterior walls and basement perimeter framing present specific challenges that require specialized techniques:
- Navigating Insulation Batts: Standard steel fish tape easily curls and binds inside fiberglass or mineral wool insulation. Use rigid fiberglass glow rods instead, rotating them in a gentle corkscrew motion to work your way along the interior drywall face rather than burying the rod deep into the batting.
- Bypassing Fire Blocks: Modern building codes require horizontal 2×4 fire stops mid-height in tall walls. When your rod hits a solid wooden block midway down the bay, chuck a 54-inch or 72-inch flexible installer auger bit into your drill, insert it through the box opening, and drill straight through the center of the block.
- Using Magnetic Pulling Systems: A magnetic wire-pulling tool uses an internal magnetized leader dropped inside the wall cavity paired with an exterior rolling hand magnet on the finished drywall surface, guiding your pull string directly down insulated walls without binding.
Learning practical methods for pulling cable through insulated wall cavities prevents damage to your thermal barrier while keeping the installation neat and secure.
Protecting Cables and Complying with Building Codes
Electrical safety codes exist to protect your home from electrical fires and hidden damage. When any drilled hole in a stud or framing plate sits closer than 1-1/4 inches to the edge of the wood, install a heavy-gauge steel nail strike plate over the stud face before closing the wall.
Seal all framing penetrations between floors or into attics using fire-resistant expanding foam or fire-rated caulk. Modern electrical codes also mandate Arc-Fault Circuit-Interrupter (AFCI) protection on virtually all living area branch circuits to prevent electrical arcing from loose connections. Reviewing our guide to understanding residential electrical codes and standards helps clarify these local requirements for residential upgrades.
Frequently Asked Questions About Running Wire in Finished Walls
How do you run wire horizontally through studs in a finished wall?
Running wire horizontally across multiple studs without opening large drywall sections is difficult. The cleanest approach is to gently pry off the baseboard molding, cut a narrow horizontal channel in the drywall directly behind where the baseboard sits, notch or drill the center of each exposed stud, install metal nail guard plates over every notch, route the cable, and reinstall the trim to hide the work completely.
Can you run standard Romex NM-B wire inside insulated exterior walls?
Yes, standard Type NM-B cable is approved for dry interior spaces, including the insulated stud bays of exterior residential walls. Take care not to compress or tear the vapor barrier during installation, as damaged barriers can lead to condensation and moisture issues inside the wall cavity.
When should I hire a licensed electrician instead of DIY fishing wire?
DIY fishing is great for a simple single-bay outlet addition, but it is best to call a licensed professional if you need to run wire across multiple stories, add a new breaker inside a crowded main service panel, handle aluminum or knob-and-tube wiring, or install heavy-load equipment like hot tubs, EV chargers, and subpanels.
Conclusion
Once your cable is pulled into the remodel box, strip the conductors, secure the box wings tight against the drywall, wire the receptacle or switch following manufacturer torque specifications, and screw on the cover plate. A dab of spackle over any small pilot holes followed by matching touch-up paint leaves the wall looking untouched.
If you run into tricky framing, full panels, or want a clean installation handled from start to finish, the team at Harmony Electric is here to help with dependable, fully licensed expert residential electrical services throughout Denver, Castle Rock, Highlands Ranch, Parker, Centennial, and surrounding communities.